Rooftop Hydroponic Farms (2026): Structural Load, Waterproofing, Wind Anchoring and Drainage Compliance for Safe Urban Growing
“If the building can hold a swimming pool, it can hold a few NFT channels.” That line gets thrown around a lot in rooftop farming circles. It is also exactly how you end up on the wrong side of a structural report, an insurance claim, or a shut‑down order from the city.
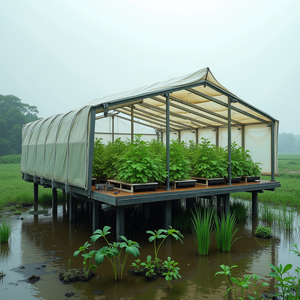
Rooftop hydroponic farms are exploding in 2026. From structured programs training rooftop farmers in cities like Vancouver and beyond as reported here, to high‑latitude projects harvesting greens in tough climates like this Greenland initiative, everyone wants more local produce closer to where people live.
But rooftops are not ground-level backyards with a better view. You are dealing with live and dead load limits, root‑resistant waterproofing assemblies, serious wind uplift, fall protection, stormwater rules, and inspectors who can shut you down if you treat the roof like open field.
This post leans hard into the compliance side: how to estimate system weight per square meter, choose compatible waterproofing and protection layers, anchor against wind, and move water exactly where code expects it to go. You will walk away with a mistake‑focused checklist you can hand to a structural engineer, a landlord, or a municipal inspector and have a serious, informed conversation.
1. Common Mistakes In Rooftop Hydroponic Farm Design
1.1 Guessing at structural loads instead of calculating them
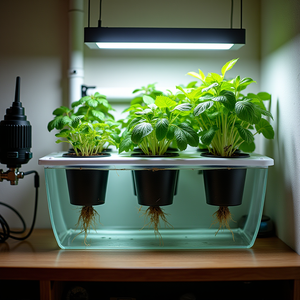
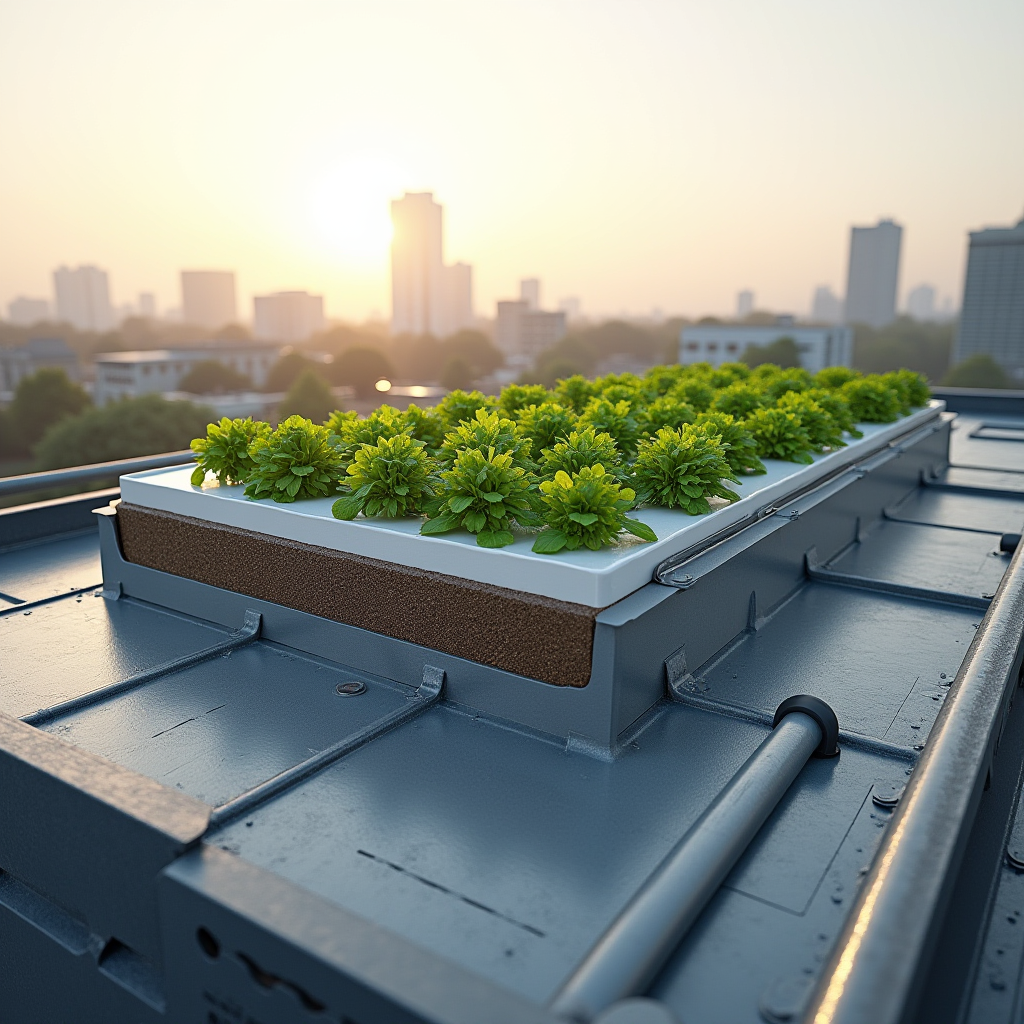
The most common rooftop hydroponics failure is also the most avoidable: guessing that “it should be fine.” Rooftop hydroponic systems can be deceptively heavy, especially if you are running large DWC reservoirs, big buffer tanks, or media‑filled planters around an NFT or gutter‑based hydroponic system.
Typical mistakes:
- Using only the dry weight of racks and channels, ignoring water, plants, and people.
- Underrating the weight of water: 1,000 kg per cubic meter (8.34 lb per US gallon).
- Ignoring snow load or ponding water that can combine with your system weight.
- Placing multiple heavy elements (tanks, nutrient storage, media bins) in one bay of the structure instead of spreading them.
1.2 Treating waterproofing like a garage floor
Hydroponic growers love to bolt, screw and drag equipment around. That attitude is lethal to rooftop membranes. Green roof and roof hydroponic assemblies rely on a carefully layered system: waterproofing membrane, root barrier, protection board, drainage layer, and sometimes insulation and growing modules on top.
Common waterproofing mistakes:
- Placing steel rack feet or tank skids directly on the membrane without protection board or pads.
- Using incompatible plastics, solvents, or adhesives that attack the membrane.
- Assuming the existing membrane is root‑resistant and compatible with nutrient spills.
- Blocking or burying drains with equipment, hoses, or media bags.
1.3 Ignoring wind loads and uplift on frames, tanks and greenhouses
On a rooftop, wind will find every loose item and every poorly anchored frame. Lightweight hydroponic channels, polycarbonate greenhouses, and polyethylene tanks are all prone to uplift, racking, or sliding if they are not anchored or ballasted to match local wind load requirements.
Typical wind‑related mistakes:
- Assuming water weight in a tank is enough to hold it in place during storms.
- Not designing rack bracing in the direction of prevailing winds.
- Failing to use manufacturer anchoring provisions for greenhouses.
- Not considering vortex and turbulence effects created by neighboring buildings.
1.4 Treating drainage like a backyard hose job
Hydroponic farms are water machines. Between irrigation, nutrient mixing, cleaning, and system flushes, you can move tens of thousands of liters through a rooftop each season. If you do not control where it goes, you risk leaks into units below, overloaded drains, and violations of stormwater or wastewater rules.
Drainage mistakes that show up over and over:
- Discharging nutrient solution directly into roof drains without checking local rules.
- Allowing hose run‑off to cross walk paths, creating slip hazards.
- Not providing secondary containment for storage tanks and nutrient totes.
- Failing to keep inspection access clear at scuppers, drains and clean‑outs.
1.5 No clear safe access and fall protection plan
Rooftop agriculture training programs repeatedly flag fall hazards and emergency access as make‑or‑break issues for institutional and commercial projects as highlighted in recent rooftop farmer training coverage. Yet many grow designs still forget the basics:
- Narrow aisles that block egress when plants or tools are in the way.
- Systems installed too close to unprotected edges.
- No clear rescue route if someone is injured mid‑roof.
- No lockable access or security for nutrient storage and electrical gear.
Fail any of those, and your landlord or insurer will be nervous, even if your plants look fantastic.
2. Why These Problems Happen On Rooftops (When They Wouldn’t On The Ground)
2.1 Load limits: how roofs are actually designed
Most flat roofs in commercial and multifamily buildings are not sized like floors in a warehouse. They are designed for a combination of dead load (the building structure and permanent layers) and live load (snow, maintenance workers, occasional equipment), usually specified in kN/m² or psf. When you add a permanent hydroponic farm, you are effectively adding both new dead load (tanks, racks, media) and frequent live load (workers, water, stored materials).
This is why “if it can hold a few people, it can hold my farm” is a myth. A concentrated 1,000 L buffer tank on a pallet can put more load into a small area than a car sitting on a driveway, and the roof deck, joists, or concrete slab may not have been designed for that specific pattern of load.
Engineers also have to consider worst‑case combinations: snow plus full tanks plus wind loading on structures. For permanent rooftop greenhouses, anchoring systems and structural steel are usually sized according to local building codes, using wind and snow load data from standards like ASCE 7 or the Eurocodes. You want your hydroponic layout to align with those calculations, not fight them.
2.2 Waterproofing assemblies are layered systems, not single products
Modern green roof assemblies and rooftop agriculture installations typically use a multi‑layer system: a waterproofing membrane (often bituminous, PVC, TPO, or liquid‑applied), a root barrier if the membrane itself is not root‑resistant, protection board, drainage elements, and then growing or support modules.
Manufacturers of professional hydroponic gutter and drainage systems design their hardware to sit cleanly over such assemblies with defined supports and channels, as you can see in specialized greenhouse hydroponic hardware from Hydroponic Systems. They expect a certain sequence of layers below them.
Problems arise when growers bypass that system and set DWC reservoirs, drums, or metal racks directly on the membrane, or when they introduce chemicals or hot work (like welding) without checking compatibility with the waterproofing manufacturer’s data sheets.
2.3 Wind loads scale fast with height and exposure
At rooftop height, wind pressures are higher and more turbulent than at ground level. Structures like small greenhouses, shade structures, and even tall NFT stands become sails. Building codes treat these as components and cladding that must resist specific uplift and lateral forces based on building height, exposure category, and local reference wind speed.
Wind does not just try to blow your greenhouse over; it also tries to suck roofing layers up from the edges and corners. Poorly anchored gear can vibrate or walk during storms, grinding into the protection layers and accelerating membrane wear.
2.4 Stormwater rules do not like unplanned nutrient discharge
Municipal stormwater systems are designed around rainwater, not concentrated nutrient solution. Many jurisdictions now treat rooftop agriculture as an activity that must either manage runoff quality or ensure process water (nutrient drains, flushes, filter backwash) is sent to sanitary sewer, not to rain-only drains.
Rooftop agriculture stories from dense urban settings and remote locations alike highlight the importance of designing clear water handling systems from day one, especially when you are working with high-performance nutrient regimens and controlled environment setups as seen in high-latitude farms.
2.5 Safety, access and inspection requirements are stricter up high
At ground level, you can sometimes get away with narrow aisles and improvised steps. On a roof, fall protection rules, fire egress requirements, and maintenance access standards all tighten up. Inspectors know that rescue is harder at height and that blocked paths or clutter near hatches and ladders quickly become life safety issues.
Hydroponic systems also bring electrical equipment, plumbing, and chemical storage into the mix. Inspectors want to see clear, stable access to pumps, controllers, and lighting, with drip loops, GFCI/RCD protection, and no trip hazards crossing escape routes.

3. How To Fix The Big Rooftop Hydroponics Mistakes (Step‑By‑Step)
3.1 Get real about weight: quick rooftop hydroponics load calculations
You do not need to be an engineer to estimate whether your concept is within a reasonable range. You do need to be systematic so your engineer or landlord can make a proper call.
3.1.1 Step 1: Break your system into load zones
Draw your rooftop layout and divide it into clear zones:
- Nutrient mixing and tank area (buffer tanks, top‑up reservoirs).
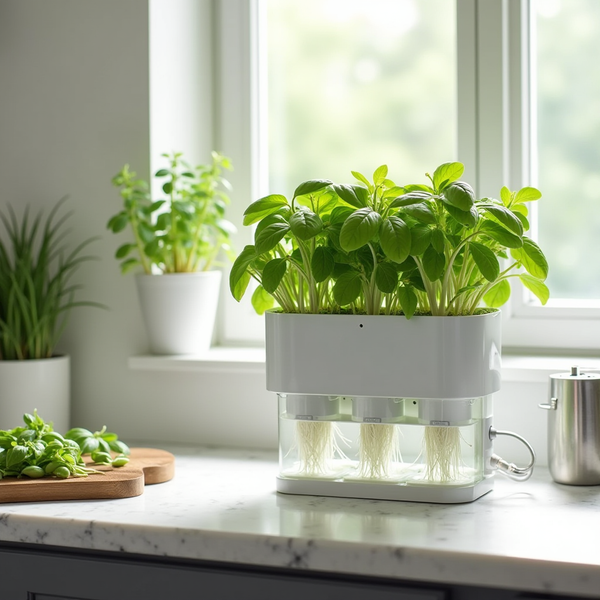
- Production systems (NFT lines, DWC beds, gutter systems, Kratky totes, etc.).
- Media storage and work areas.
- Circulation routes and access paths.
Note approximate area for each zone in m².
3.1.2 Step 2: Calculate water weight per element
- Water density: 1,000 kg/m³ (8.34 lb/gal).
- Example: a 500 L buffer tank = 0.5 m³ ≈ 500 kg water + tank weight.
- Example: one 6 m NFT channel (100 mm wide, 40 mm deep water) holds roughly 0.024 m³ ≈ 24 kg of water.
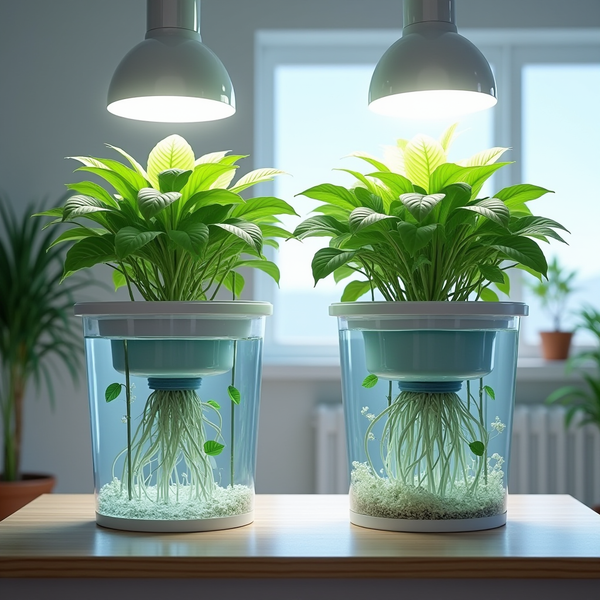
- Example: a shallow DWC bed 6 m x 1.2 m x 0.2 m water depth holds 1.44 m³ ≈ 1,440 kg of water.
Add hardware weight (tanks, frames, covers) from manufacturer data sheets.
3.1.3 Step 3: Estimate media and plant weight
- Hydroton / expanded clay: roughly 350–450 kg/m³ bulk density when moist.
- Coconut coir mixes: often 100–160 kg/m³ saturated.
- Rockwool slabs: check manufacturer specifications; use saturated weight.
- Plant mass: usually a small fraction vs water and media but add 5–10 kg/m² for dense leafy greens or vine crops for safety.
Calculate per bed or per gutter section, then sum per zone.
3.1.4 Step 4: Convert to load per square meter
For each zone, divide total weight by the area that weight actually bears on. For tanks and localized loads, use the footprint of the support frame or slab under them, not the entire roof.
Example:
- Tank platform: 500 L tank (500 kg water + 30 kg tank) on a 1.0 m x 1.0 m platform = 530 kg/m², plus people occasionally climbing on it for maintenance.
- NFT area: twenty channels over a 6 m x 4 m growing area, each 24 kg full of water plus 6 kg hardware, total maybe 600–700 kg including plants and pumps over 24 m² = roughly 25–30 kg/m².
Present these numbers to your structural engineer. Their job is to compare against the roof’s design loads and identify where you need spreading beams, additional supports, or reduced tank sizes.
3.2 Protecting waterproofing and drains like they are part of your crop
3.2.1 Always build on top of a defined roof assembly
Before designing your hydroponic system, obtain the roof assembly from the building owner or architect. You should know:
- Membrane type (e.g., TPO, PVC, bituminous, liquid‑applied).
- Whether it is root‑resistant or requires a separate root barrier.
- Location of protection boards, insulation, and drainage layers.
- Warranty conditions and prohibited materials/procedures.
Use continuous protection boards or pads under every rack leg, tank base, or greenhouse rail. For modular hydroponic systems, look at how specialized gutter and bench systems from manufacturers like Hydroponic Systems support loads while allowing drainage and membrane protection.
3.2.2 Protect drains and scuppers as “no‑go zones”
- Mark a minimum clearance radius around each drain or scupper (often 0.6–1.0 m) where no permanent equipment is allowed.
- Keep lines, hoses, and cables off drain grates with raised cable trays or hangers.
- Use removable grates or guards to stop media, tags, and leaves from entering drains.
Schedule monthly “roof hygiene” checks to clear debris, test drains by briefly adding water, and inspect for membrane damage.
3.3 Designing for wind: anchoring and ballast basics
3.3.1 Work from manufacturer and engineer data
Your greenhouse or shade structure should come with anchoring recommendations. These normally assume a certain exposure and wind speed. Have your engineer verify them against local code using the building’s height and surroundings. For hydroponic gear on open rooftops, think in three categories:
- Anchored structures: greenhouses, major shade frames, large tanks. Typically fixed to structural elements (parapets, beams, or engineered ballast frames), not just to insulation or membrane.
- Ballasted equipment: NFT stands, work tables, small DWC beds. Use weighted bases or trays with distributed ballast that sits on protection boards.
- Secured loose items: lids, panels, tools, spare piping. Use straps, clips, and storage lockers so nothing becomes airborne.
3.3.2 Consider direction and turbulence
Ask your engineer about prevailing winds and corner/corridor effects caused by nearby buildings. Then:
- Orient NFT channels and gutter systems to minimize wind loading on end profiles.
- Use cross‑bracing in the direction of expected gusts.
- Specify fasteners and anchors that match the substrate (concrete, steel, etc.) and avoid compromising the membrane.
Many rooftop farms now combine permanent hydroponic installations with high‑efficiency LED lighting packages assessed for energy and mounting loads in advance as outlined in this LED selection guide. Treat your frames and light bars as part of a single wind‑resistant system, not isolated pieces.
3.4 Designing drainage, containment and discharge for compliance
3.4.1 Separate rainwater from process water
Plan for two clear water paths:
- Rainwater falls on the roof and moves through the existing drainage system.
- Process water (nutrient change‑outs, filter backwash, sterilization rinse) is captured and directed to appropriate treatment or sanitary discharge.
Practical options include:
- Dedicated process drains tied into sanitary plumbing where code allows.
- On‑roof process water storage tanks with pump‑out connection to an interior drain or service connection.
- On‑site treatment or reuse (e.g., diluting used nutrient for ornamental irrigation) where permitted.
3.4.2 Secondary containment and spill response
Any nutrient tank or chemical storage on the roof should sit inside secondary containment sized for at least 110% of the largest vessel volume, or as required by local code. This can be a molded containment basin, a framed curb with waterproofing, or a purpose‑built tank farm area.
Pair that with a simple spill SOP: absorbent materials on hand, clear routes for safe cleanup, and contact points for building management if a large spill occurs.
3.5 Safe access, walkways and work zones
Your rooftop layout should make it easy to walk, work, and escape. At minimum:
- Maintain clear, unobstructed paths from roof access points to exits and key equipment.
- Use non‑slip walkway pads where water or nutrient solution may splash.
- Locate Kratky tubs, DWC reservoirs, and mixing tanks away from roof edges unless guardrails or parapets meet height and strength requirements.
- Plan lighting for night or early morning work in accordance with your LED power layout, avoiding glare that hides trip hazards.
Training programs for rooftop farmers consistently highlight safety culture as the factor that keeps programs running year after year as documented in recent program overviews. Treat your roof like a light industrial workplace, not a hobby deck.

4. What To Watch Long‑Term: Checklists, Benchmarks & Inspections
4.1 Structural and load monitoring
Once the system is live, you are responsible for operating it within the envelope your engineer signed off on. Long‑term:
- Do not add extra tanks, pallets of media, or heavy equipment without revisiting load calculations.
- Watch for signs of structural distress: unusual cracking, ponding that lasts after rain, doors or frames binding.
- Keep logs of tank volumes and seasonal changes in snow or rainfall that might push loads toward the upper limit.
4.2 Waterproofing and drainage inspections
- Schedule visual inspections after major storms and at least twice per year.
- Look for standing water, blistering, or mechanical damage around equipment bases.
- Test drains by pouring a controlled amount of clean water and confirming flow.
- Review any membrane repairs with the roofing contractor and adjust your equipment layout if needed.
4.3 Wind, anchoring and system movement
Over time, small movements can loosen anchors and fasteners. Every season:
- Check that all anchor points are tight and free from corrosion.
- Inspect ballast trays to make sure blocks have not shifted or cracked.
- Confirm greenhouse doors, vents, and louvers close securely under wind load.
- Review weather data and document any extreme wind events alongside inspection notes.
4.4 Water quality, discharge and compliance
Your nutrient management affects not just yield but also compliance. Track:
- Frequency and volume of nutrient solution change‑outs for each system type (Kratky, DWC, NFT, etc.).
- Where each type of wastewater is discharged (sanitary vs storm vs reuse).
- EC and pH trends before disposal to ensure you are not dumping highly concentrated or extreme‑pH solutions into drains.
If local regulations change, you will need these records to demonstrate that you have been managing rooftop hydroponic water responsibly.
4.5 Safety culture and access control
Rooftop farms evolve. Staff changes, crops change, and gear is added. Keep safety and access under control by:
- Refreshing rooftop safety training yearly, including fall protection, electrical safety, and chemical handling.
- Reviewing and updating your layout so aisles, exits, and service access stay clear as systems grow.
- Keeping roof access controlled and logged if you are in a commercial or multi‑tenant building.
- Maintaining clear signage for shutoff valves, electrical disconnects, and emergency contact details.
Rooftop hydroponics can deliver serious yields where space is tight, as seen in projects from dense cities to remote regions documented in current rooftop and remote greenhouse case studies. When you treat structural loads, waterproofing, wind, drainage, and access as core design variables instead of afterthoughts, your systems run cleanly, your inspectors stay happy, and your crop performance speaks for itself.

As an Amazon Associate, I earn from qualifying purchases.