Most people treat moringa like a tree. In urban hydroponics, that mindset kills your yield per square metre.
Outdoor growers think in trunks and pods. Urban hydroponic growers in Delhi, Mumbai or Bengaluru need to think in coppiced hedges, controlled roots, and predictable weekly leaf cuts that plug straight into premium city demand.
With investor attention on agritech plays like Neo Green Ventures and growing interest in nutrient-dense crops for urban supply chains highlighted in recent coverage, moringa leaves are moving from “niche health food” to “serious greenhouse crop”. The problem: most hydroponic playbooks are written for lettuce, basil, and vine crops, not a woody perennial with aggressive roots and hard lignified stems.
This guide is about turning moringa into a high-density, high-frequency leaf machine inside Indian greenhouses and indoor farms. We’ll pin down substrate, system choice (drip vs NFT), spacing, EC/pH, DLI, and pruning so you can hit repeatable, hedge-style production instead of battling overgrown trees in NFT channels.
1. Common mistakes in hydroponic moringa leaf production
Hydroponic moringa is new ground for a lot of growers. The same habits that work for lettuce can wreck a moringa run.
Mistake 1: Treating moringa like a short-term leafy green
Many growers try to run moringa like spinach or lettuce: shallow channels, tight NFT spacing, and a quick 30–40 day cycle. That collides with reality fast:
- Stems lignify and outgrow channels.
- Roots form dense woody masses, choking flow.
- Plants stretch tall, become unstable, and shade neighbours.
Moringa is a perennial tree that wants to become a shrub 2–4 m tall. If you ignore that biology, your system clogs and your harvest window collapses just as demand picks up.
Mistake 2: Using the wrong hydroponic system type
Classic NFT and shallow raft DWC are usually poor fits for long-cycle moringa:
- Standard NFT: channels are too narrow and too shallow for woody stems and heavy root mats.
- Thin-film flow: sensitive to root intrusion and flow restriction over time.
- Small-bucket DWC: roots easily fill the volume, causing oxygen stress unless heavily over-aerated.
The result is often root rot, plant tipping, or a complete reset at 3–4 months when the hardware becomes unusable.
Mistake 3: Running “leafy green EC” and generic pH bands
Most indoor farms are tuned to 1.2–1.8 mS/cm EC and pH 5.8–6.0 for lettuce and herbs. Moringa behaves differently:
- It tolerates and uses slightly higher EC once established.
- It performs well with a slightly higher pH band than typical leafy greens.
- It is unforgiving of micronutrient imbalances when pushed for fast regrowth between prunings.
Locking into your lettuce recipe and hoping for the best typically gives you chlorosis, brittle growth, and inconsistent regrowth after hard cuts.
Mistake 4: No structured coppicing and pruning strategy
Left alone, moringa will rapidly try to become a tree. In a greenhouse gutter or indoor rack, that is a structural problem, not a feature.
Common pruning failures:
- Allowing a tall central leader instead of training a low hedge frame.
- Irregular cutting, which causes boom-and-bust leaf supply.
- Cutting too hard too early, which stalls young plants.
Without a defined coppicing system, your “high-density” moringa bed becomes a chaotic collection of sticks and shadows.
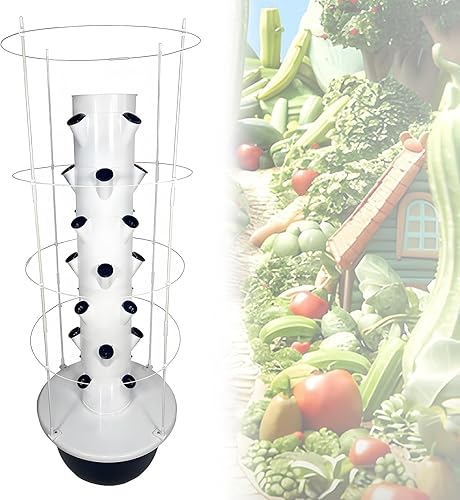
Affiliate pick: scalable NFT-style ladder for trials
If you want to trial moringa in a structured, multi-level layout (with modifications for woody crops), an NFT ladder kit can be repurposed by spacing sites wider and reinforcing stem support.

2. Why these problems happen in urban Indian greenhouses and indoor farms
Once you understand what moringa wants to do, the failure patterns in controlled environments start to make sense.
Moringa is a woody, deep-rooted perennial in a shallow, recirculating world
In soil, moringa sends roots deep, rides out stress, and cycles biomass over years. In hydroponics, you are asking it to:
- Stay within limited root volume.
- Regrow leaves aggressively after mechanical pruning.
- Perform in higher planting densities than field spacing.
That mismatch is why system choice and root-zone engineering matter far more than they do in lettuce.
Urban greenhouses push light and heat differently than open fields
Moringa is a sun-loving tropical tree. In Indian cities, rooftop and peri-urban greenhouses see very high light at certain times of year, but glazing materials, shade nets, and pollution can change the actual light reaching leaves.
Recent extension discussions from universities and controlled-environment webinars, like the Penn State greenhouse hydroponics sessions covered in this summary, keep hammering the same point: dialing in light quantity (DLI) and uniformity is as important as nutrients. That applies even more to a high-light species like moringa that you’re trying to keep compact.
Perennial cashflow vs hardware fatigue
Investors love the idea of a perennial crop in a hydroponic fixture, because it suggests less replanting labor and more stable supply. The catch: your NFT, DWC, or gutter system still has a finite mechanical lifespan.
Roofs and urban campuses, like the greenhouse project at Belvedere College described in this report, show what’s possible when you design around long-term structural loads and crop cycles. With moringa, you need the same mindset inside the root zone: design so your channels, reservoirs, and drains can realistically last through several coppice cycles without total teardown.
Nutrient management is (even more) unforgiving at high density
High-density moringa leaf production in recirculating systems asks a lot from your nutrient tank:
- Constant removal of calcium- and magnesium-rich biomass.
- Fast nitrogen and micronutrient turnover after each heavy cut.
- Rising EC between top-ups as water is transpired aggressively in hot, bright conditions.
Without a clear EC and pH strategy and routine testing, you bounce between deficiency and burn, and regrowth slows just when your buyers want steady supply.
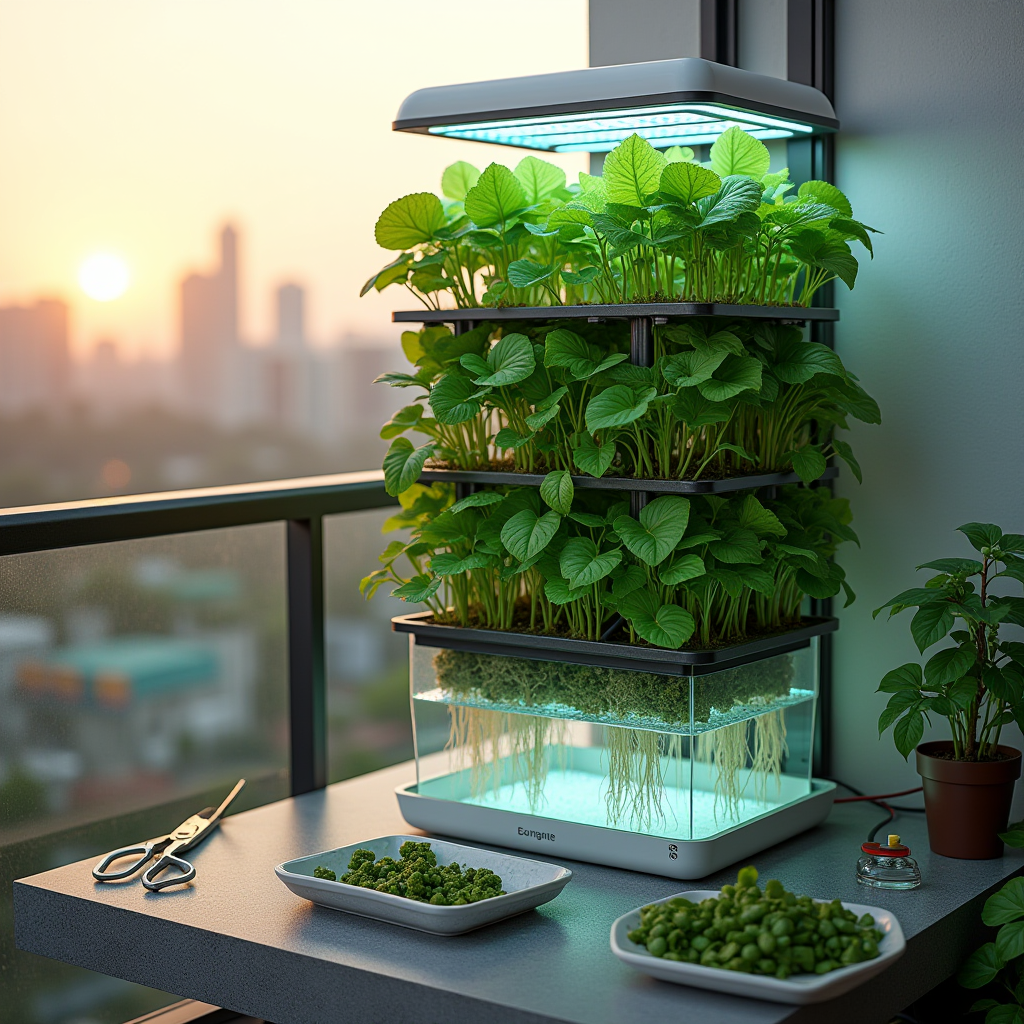
Affiliate pick: compact aeroponic tower for balconies and tight spaces
For R&D or small commercial demonstration systems (restaurants, schools, or rooftop showcases), a smart vertical aeroponic tower can be tuned for moringa by using fewer, better-supported plants and a more robust support frame.
3. How to fix it: a high-density hydroponic moringa design that actually works
Now we get into the system that turns moringa from “interesting idea” into a repeatable crop in Indian urban farms.
Step 1: Choose the right system type
For moringa leaves, think “semi-permanent shrub” rather than “floating lettuce”. The following setups work best:
- Drip-to-waste in containers (coco/perlite mix):
- Best for rooftop and greenhouse farms that want robust, tree-like stems but controlled root zones.
- Use 10–15 L grow bags or pots with 60–70% coco, 30–40% coarse perlite for drainage.
- Run 1–4 drippers per plant depending on pot size and climate.
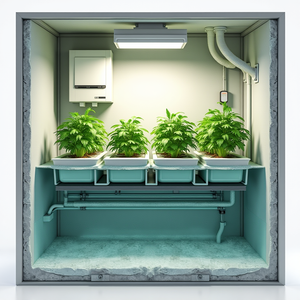
- Recirculating drip in gutters or troughs:
- Place containers in gutters connected to a recirculating tank.
- Allows nutrient reuse, useful where water is limited.
- Requires filtration and regular tank maintenance.
- Oversized DWC for R&D, not main production:
- Use large 40–60 L buckets or totes per plant with strong aeration.
- Good for studying EC/pH response and growth, but root mass will eventually make management harder.
Standard small-channel NFT is usually a poor fit for production moringa. If you must use NFT, switch to wide, deep channels (or custom troughs) and reduce planting density.
Step 2: Substrate and container specs
For Indian urban climates (hot, often humid, variable power reliability):
- Substrate: 60–70% buffered coco coir, 30–40% chunky perlite or similar inert aggregate for air space.
- Container size: 10–15 L per plant for high-density leaf harvest; up to 20 L if you aim for longer cycles between resets.
- Drainage: Ensure fast drainage; moringa hates sitting in waterlogged media.
You are balancing two opposing needs: enough root volume for repeated coppicing, but not so much that plants become unmanageable trees.
Step 3: Plant spacing for high-density leaf production
For drumstick leaves, not pods, your target is a dense, low hedge:
- Row spacing: 40–60 cm between rows (center to center).
- In-row spacing: 25–35 cm between plants.
- Plant density: roughly 4.5–8 plants/m2, depending on how aggressively you plan to prune.
Start at 6 plants/m2 for greenhouse systems with good light. In lower DLI indoor setups, drop to closer to 4–5 plants/m2 to reduce shading.
Step 4: EC and pH targets for moringa in hydroponics
Based on moringa’s behavior as a fast-regrowing, nutrient-dense leafy crop, and aligning with general leafy-green hydroponic ranges reported in greenhouse extension material like the sessions summarised in this webinar recap, a practical working band looks like this:
- pH: 6.0–6.5
- Seedling/early stage: 6.0–6.3.
- Established, coppiced plants: 6.2–6.5 to keep Ca/Mg and micronutrients available.
- EC:
- Propagation / young transplants (first 2–3 weeks after transplant): 1.2–1.6 mS/cm.
- Vegetative pre-coppice (building frame): 1.6–2.0 mS/cm.
- Post-coppice regrowth (heavy leaf harvest cycles): 1.8–2.3 mS/cm, depending on climate and cultivar response.
Keep sodium low and ensure strong Ca/Mg support. Moringa leaves are rich in minerals; if your recipe is marginal, the plant will quickly tell you via pale, weak regrowth after cutting.
Step 5: Light (DLI) targets for Indian indoor and greenhouse moringa
Moringa is high-light by nature. For dense leaf production:
- Greenhouse in Indian metros:
- Target 18–25 mol/m2/day DLI at leaf level during main production.
- Use shade cloth (20–35%) during peak summer to keep canopy temps manageable while maintaining enough DLI.
- Indoor LED production:
- Target 16–22 mol/m2/day.
- As a working handle: 250–350 µmol/m2/s for 16 hours/day.
- Use full-spectrum white with some 660 nm red support; moringa will respond with thicker, darker foliage under adequate red/blue balance.
Monitor leaf temperature and transpiration; moringa handles heat better than lettuce, but hydroponic containers on hot rooftops can cook roots if not shaded or insulated.
Step 6: Coppicing and pruning strategy
This is the heart of turning moringa into a repeatable leaf crop.
- Establishment phase (0–8 weeks after transplant):
- Let plants reach 50–70 cm height.
- Remove only weak or crossing branches.
- Do not take heavy leaf harvests yet; focus on building a sturdy frame.
- First coppice:
- Cut main stem back to 25–40 cm above media level.
- Leave 3–5 strong buds/nodes to regrow from.
- Support stems with soft ties if container stability is an issue.
- Hedge formation (next 6–8 weeks):
- Allow 6–8 side branches to develop from the coppiced base.
- Tip-prune branches once they reach 30–40 cm, removing the top 10–15 cm to encourage side shoots.
- Production phase:
- Perform light, regular harvests: strip leaves and soft tips, leaving the woody framework intact.
- Every 8–12 weeks, do a structural prune: reduce branch length by 30–50% to keep the hedge at 50–80 cm height.
In greenhouses with good management, you can run the same plant base for 12–18 months before root mass and woody growth justify a full reset.
Step 7: Harvest cadence and yield expectations
Exact yields will vary with cultivar, DLI, and nutrient management, but practical targets for drumstick leaves in well-run systems are:
- Initial harvests (first 2–3 cuts after establishment): 0.5–1.0 kg/m2/month.
- Stabilised production (after hedge is formed): 1.0–2.0 kg/m2/month of marketable leaves under 18–25 mol/m2/day DLI.
As with rooftop projects and educational farms celebrated in events like Ag Day 2026, the key to consistent output is system discipline: prune and feed on a schedule, not based on “feel”.
Step 8: Nutrient recipe notes
You can start from a general vegetative leafy-green formula and tune it for moringa:
- N: Keep total N robust, with a good share as nitrate; avoid pushing ammonia in hot conditions.
- K: Strong K support for regrowth, but avoid extreme K:Ca ratios that cause tip burn.
- Ca/Mg: Do not skimp; moringa leaves are Ca-rich, and repeated stripping can expose deficiencies fast.
- Micronutrients: Ensure adequate Fe and Mn for dark green leaves; chelated forms help at pH 6.2–6.5.
Track leaf color and regrowth speed after harvests. If plants take more than 10–14 days to fully refoliate after a routine picking, review EC, N, and DLI.
Affiliate pick: vertical aeroponics kit for experimental moringa hedges
If you want to push root oxygenation and see how moringa responds in a vertical drip-aeroponic configuration, this kind of kit can be adapted by using fewer, well-spaced moringa plants and aggressive pruning.

4. What to watch long-term: canopy, roots, and numbers
Once your system is dialled, moringa becomes a management crop: fewer big emergencies, more small adjustments. Here is what to track.
Canopy management checkpoints
- Height: Maintain 50–80 cm hedge height for easy harvest and light penetration.
- Branch density: Thin out overcrowded inner branches every 2–3 months to keep air moving and reduce disease pressure.
- Leaf quality: Watch for pale new growth (Fe or N issues) or burnt margins (EC or K:Ca imbalance).
Root-zone health and reset strategy
In coco/perlite containers:
- Check drainage regularly; salt buildup at the bottom of bags can sneak up in drip-to-waste systems.
- Leach with low-EC solution every 4–6 weeks, especially in hot months.
- Plan a crop reset every 12–18 months: remove plants, refresh media, sanitise containers and plumbing.
In recirculating systems:
- Use pre-filters to keep root fragments out of pumps.
- Monitor dissolved oxygen; high root mass and high temperatures can crash oxygen quickly.
- Schedule 100% solution changes at defined intervals, not just top-up-and-forget.
EC, pH, and DLI tracking routines
For commercial moringa leaf production in Indian cities, set simple, non-negotiable routines:
- pH & EC: measure at least once daily in recirculating systems; 2–3 times per week in drip-to-waste setups.
- DLI / light: log seasonal changes in greenhouses and adjust shade or supplemental lighting to keep DLI in target bands.
- Harvest weight: record kg/m2 per harvest and interval days; that tells you if your pruning and feeding are on point.
Benchmark ranges for serious growers
If you want moringa to stand up alongside your lettuce or tomato lines in investor decks and restaurant pitches, hit metrics like these:
- Plant density: 5–7 plants/m2 in productive greenhouses.
- Yield: 1.0–2.0 kg/m2/month of saleable leaves in mature hedges.
- Cycle length: 12–18 months from transplant to system reset.
- Turnaround after harvest: visible regrowth within 3–5 days; near-full canopy within 10–14 days.
These numbers put moringa in the same conversation as other premium leafy greens, with the added marketing edge of its nutrient density and local health familiarity in Indian markets.
Affiliate pick: aeroponic cloner to produce uniform moringa starters
To keep your system full and your genetics consistent, use an aeroponic cloner for moringa cuttings before transplanting into coco or large DWC. It provides a fast, uniform root system and lets you scale up without constant seedling purchases.

If you design your system around moringa’s natural drive to become a woody shrub, and you back that design with consistent EC/pH management, defined DLI, and a firm pruning calendar, you end up with exactly what Indian urban markets want from this crop: compact, high-density hedges producing a steady stream of drumstick leaves per square metre, week after week.
As an Amazon Associate, I earn from qualifying purchases.