If your Kratky tote leaks light, your DWC raft sags, and your roots feel like bathwater, it is not bad luck - it is materials and design. Here is a fast, practical guide to build DIY rafts and lids that stay buoyant, block algae, and keep roots cooler using XPS foam or rigid lids you can cut this week.
The problem
- Warm root zones, bitter lettuce, and slow basil because the lid heats up and conducts that heat to the reservoir.
- Algae blooms from light leaks around net pots and exposed foam edges.
- Boards that bow or crumble, dropping crowns too deep or drowning roots.
- Food-safety concerns about foam dust, paints, and adhesives near nutrient solution.
What is really going wrong
- Material choice and thickness decide buoyancy and insulation. Thin boards flex and heat up fast.
- Light penetration at the lid, hole edges, and seams feeds algae and warms solution.
- Oversized holes and loose net pots leak light and let plants wobble.
- Non-opaque reservoirs and lids supercharge algae and temperature swings, as noted in this DWC guide.
Pick the right raft or lid: XPS vs EPS vs rigid plastics
- XPS foam (extruded polystyrene) - Dense, closed-cell, cuts cleanly, floats well, and resists waterlogging better than many hobby foams. Commonly used in floating raft beds and easy to drill for net pots. Polystyrene sheets are a standard raft material in floating systems, as noted in this overview.
- EPS foam (expanded polystyrene) - Cheaper but beads can shed when cut, edges dent, and it sags sooner under weight. If you use EPS, seal the edges and holes well and support spans to reduce bowing.
- Rigid plastic lids (great for Kratky) - Food-grade, opaque HDPE or PP lids, totes, or cutting-board stock make sturdy, algae-proof lids. They do not float by themselves, but they are ideal as Kratky lids on containers, and you can cut clean, snug net-pot holes. Using food-grade opaque containers and lids directly helps prevent algae, as discussed in this guide.
Thickness and buoyancy: aim for stiffness and insulation
- 1.0-1.5 inch XPS is a sweet spot for small home rafts: stiff enough to resist bowing with 2 inch net pots and leafy greens, easy to cut, and adds useful insulation. Larger spans or 3 inch net pots benefit from thicker boards or cross-bracing.
- Support long spans with ribs or a simple grid made from PVC strips or plastic angle under the raft to stop sagging.
- White or light-colored top surface reflects solar and light fixture heat; darker undersides block light inside the reservoir.
Keep roots cooler
- Insulate and shade - Use thicker XPS or rigid, reflective lids. Shade the reservoir and avoid direct midday sun on outdoor totes.
- Increase water volume - Bigger reservoirs change temperature more slowly.
- Block light aggressively - Opaque lids and tight hole seals reduce radiant heating and algae, which compete for oxygen.
- Aerate DWC - Air pumps and airstones boost dissolved oxygen and even out temperature in DWC systems, as covered in this DWC primer.
Light-blocking and edge sealing that actually works
- Hole collars - Use black neoprene clone collars or snug-fitting net-pot lids to cap light around the plant stem and net pot lip.
- Edge sealing - Wrap raft edges with opaque tape or vinyl, or run a thin bead of aquarium-safe silicone on exposed foam edges to lock in beads and block light. Keep all sealants above the nutrient line.
- Opaque everything - If a reservoir or lid lets any light through, wrap it in blackout film or paint the exterior. Opaque containers are recommended to control algae in this DWC guide.
Net-pot hole sizing and spacing for lettuce and basil
- Hole sizing - Measure your net pots at the insert stem (not the outer rim). Most 2 inch net pots fit a 2 inch hole saw; 3 inch pots fit a 3 inch hole. Cut for a press fit so the lip sits flush and light is blocked. Cutting holes sized to your specific net pots is standard practice, as shown in this hobbyist guide and this DWC overview.
- SpacingSpacing plants 6 or 8 inches apart is a common template for DIY lids, as noted in this guide.
- Lettuce heads: 6-7 inch centers for compact butterheads and most romaines; 8 inch if you want big heads and easy airflow.
- Basil: 7-8 inch centers for bushy plants and better airflow above the canopy.
Food-safe builds: materials, paints, and adhesives
- Start with food-grade containers and lids - Look for food-grade, opaque totes and buckets to minimize leaching and light leaks, as recommended in this DWC guide.
- Keep coatings out of the water - If you paint or tape for light blocking, do it on the top or exterior only. Do not expose solvent-based paints to the nutrient solution.
- Choose safer sealants - Use 100% silicone labeled aquarium-safe for perimeter seals and to lock in foam edges. Avoid adhesives with mildew inhibitors or strong solvents near the waterline.
- Minimize foam abrasion - Deburr holes with light sandpaper and use collars so roots do not rub against cut foam. Vacuum dust before first use.
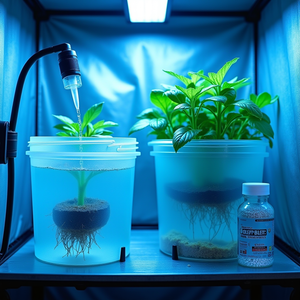
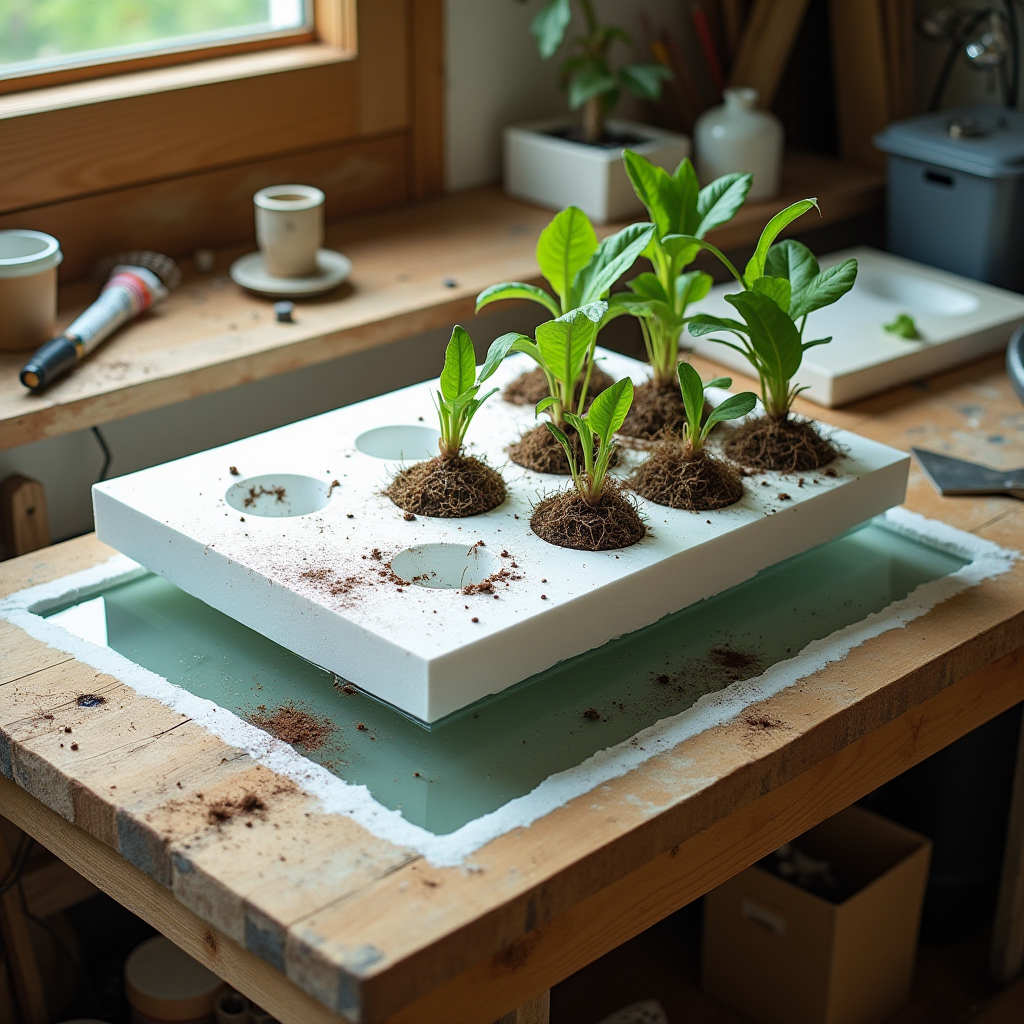
Quick build: XPS DWC raft for a tote
- Cut 1.0-1.5 inch XPS to the inner dimensions of your tote so it floats with minimal side play.
- Lay out holes on 6-8 inch centers. Drill using a hole saw matched to your net pots. A snug, press fit reduces light leaks, as shown in this guide.
- Wrap edges with opaque tape or seal the perimeter above the waterline.
- Install an air pump and airstone for DWC; oxygenation is standard practice, per this DWC primer.
- Fill, add nutrients, and set pH. Opaque reservoirs and lids cut algae dramatically, as noted in this guide.
Quick build: rigid Kratky lid
- Use a food-grade, opaque tote with a tight-fitting HDPE lid. Food-grade and opaque is recommended in this source.
- Layout 2 inch net-pot holes on 6-7 inch centers for lettuce or 7-8 inch for basil. Drill clean holes and de-burr.
- Insert net pots with neoprene collars. Fill the tote so solution just touches the starter media. Let a 1-2 inch air gap form as the plants drink, classic Kratky style.
Dial it in: pH, EC, and temps that keep greens sweet
- pH 5.5-6.5 for leafy greens to keep nutrients available, with many growers targeting ~5.8-6.2, as outlined in this DWC guide.
- EC 1.2-2.0 mS/cm for lettuce and basil depending on growth stage and light intensity, also consistent with hobby DWC advice in this source.
- Temperature - Keep nutrient solution cool and stable; insulation, shade, and aeration help. Building rafts from polystyrene sheets is standard practice in floating systems, per this overview.
Fast troubleshooting
- Sagging raft - Thicker XPS, add cross-bracing, reduce hole count, or switch to a rigid Kratky lid for heavy plants.
- Algae in cups - Use black collars, tighten hole fit, and ensure an opaque lid. Opaque lids reduce algae pressure, as noted in this guide.
- Warm roots - Shade, insulate, increase volume, and aerate DWC. Avoid placing dark reservoirs in direct sun.
- Foam dust - Seal edges and vacuum before use. Keep sealants above the waterline and allow full cure before planting.
Dial in materials, block every photon you can, and your DIY DWC raft or Kratky lid will run cooler, cleaner, and sturdier - with crisp lettuce and fragrant basil to prove it.