Can You Use Store‑Bought Starter Plants in Hydroponics? Food‑Safe Transplant SOP for DWC, NFT & Aeroponics (2026)
Common Mistakes: Dropping Nursery Plants Straight Into Hydro
“They came from a garden center, so they must be fine.” That assumption is exactly how people turn a clean DWC, NFT, or aeroponics system into a biohazard in one afternoon.
Right now, Facebook threads are full of growers asking if they can toss Home Depot seedlings straight into Kratky buckets. The short answer: you can use store‑bought starters in hydroponics, but if you do it wrong you get root rot, pump clogs, algae explosions, and, for commercial growers, food‑safety problems that will not pass a FSMA/HACCP review.
Let’s walk through the most common mistakes first, so you know exactly what not to copy from social media.
- Planting with soil still packed around the roots into net pots or channels, sending fines and organic muck into DWC, NFT, and aeroponic lines.
- No quarantine or inspection: pests, powdery mildew, or botrytis hitchhike in from nursery benches and spread under your lights in a week.
- High‑pressure root washing in the sink that shreds roots and leaves seedlings limp before they ever see nutrient solution.
- Using random household disinfectants on edible crop roots or equipment without checking if they are food‑safe or label‑approved.
- Dropping stressed plants into full‑strength nutrients under max light, which tanks VPD balance, stalls growth, and invites disease.
- Commercial farms mixing manure‑amended nursery media into recirculating tanks, then wondering how they ended up on the wrong side of a food‑safety audit.
All of these are avoidable. The rest of this article gives you a system‑specific, food‑safe SOP to move soil or peat‑plug plants into DWC, NFT, and aeroponics with minimal stress and maximum compliance.

Why These Problems Happen: Biology, System Design & Food Safety
To fix the mess, you need to understand what’s actually going wrong inside the tank and on your food‑safety paperwork.
Soil and organic media do not belong in recirculating hydro
Ordinary nursery pots are usually filled with peat‑ or compost‑based mixes. Those mixes are great in a container that drains freely. In hydro, that same organic material becomes fuel for biofilm, pythium, and anaerobic pockets.
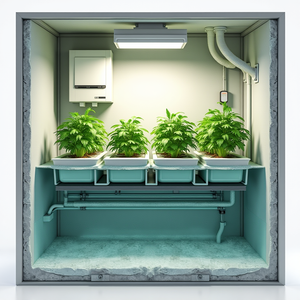
- DWC/Kratky: organic bits sink into the reservoir, decompose, and strip dissolved oxygen (DO), especially in un‑aerated Kratky buckets.
- NFT: fines settle in flat spots of the channels, forming slime mats that slow flow and suffocate roots.
- Aeroponics: even small particles can block mist nozzles, shutting off irrigation to the entire root zone.
This is why proper root washing and media removal is non‑negotiable, especially for NFT and aeroponics.
Nursery plants are not raised as "hydro‑ready" or FSMA‑ready
Most garden‑center seedlings are grown for soil gardens, not for food‑safety‑audited hydroponic farms. They may be sprayed with products you would never allow inside a clean greenhouse, and their potting mix may include animal‑origin composts.
The FDA’s FSMA Produce Safety Rule sets science‑based minimum standards for how farms grow, harvest, pack, and hold produce to reduce contamination from soil amendments, water, workers, and equipment, as outlined in this FDA rule summary. Hydroponic farms are still covered if they grow “covered produce” and meet the sales thresholds. That means your root‑washing water, your reservoirs, and your channels are effectively food‑contact environments whenever you sell the crop.
Transplant shock + indoor climate = slow recovery or collapse
When you strip soil from roots, you remove the micro‑environment they are used to. You also suddenly change:
- Osmotic conditions: from soil water to nutrient solution with a specific EC.
- Oxygen profile: from partly aerated pores to full immersion or mist.
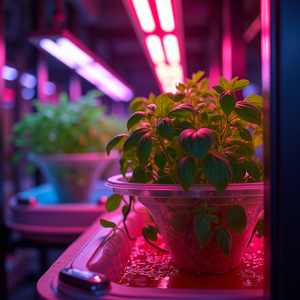
- VPD and light: from shaded benches to tight indoor VPD and high PPFD LEDs, which can spike transpiration.
If you do not soften the landing with moderated light, tuned VPD, and gentle nutrient levels, you will see wilt, tip burn, and stalled growth similar to the water‑stress issues described in this VPD and internal water flow article.
Commercial angle: when "cheap starts" cost you in audits
From a FSMA/HACCP perspective, soil‑to‑hydro transplants introduce three major risk vectors into an otherwise controlled system:
- Biological soil amendments of animal origin via nursery mixes, which FSMA treats very carefully because of pathogen risk.
- Agricultural water concerns: your hydro solution is agricultural water that contacts produce; if you seed it with soil organisms, you have to manage that risk.
- Traceability gaps: you may not know exactly what chemicals, compost sources, or hygiene standards were used on those seedlings.
For home growers, the risk is mostly system crashes and wasted time. For commercial growers, it is potential non‑compliance and recalls.

How To Fix It: Food‑Safe Root‑Wash & Transplant SOP (Soil → DWC/NFT/Aeroponics)
Here is a repeatable, system‑specific protocol you can drop straight into a hobby grow, small commercial rack, or full greenhouse SOP.
Step 1: Decide if you should even use that plant
Use this quick acceptance checklist for store‑bought starters:
- Roots: mostly white to cream, firm, no smell of rot. Reject black, mushy, or foul‑smelling roots.
- Foliage: no obvious powdery mildew, leaf spots, or heavy insect pressure.
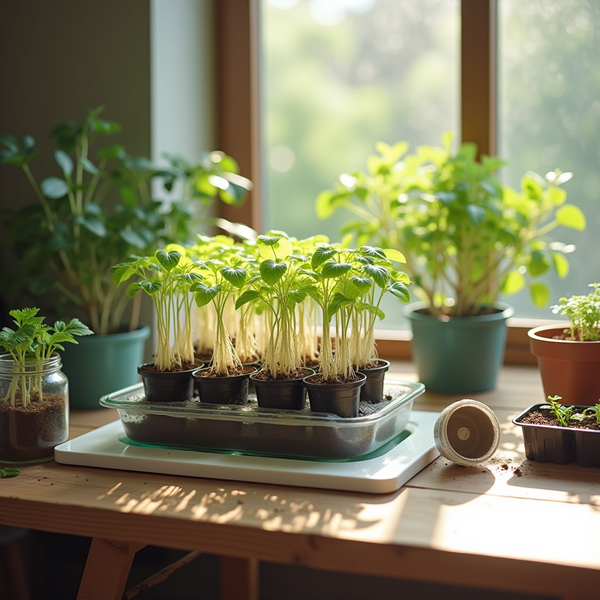
- Growth stage: 2–4 true leaves for leafy crops; not root‑bound in the cell.
- Media: prefer peat‑based, no visible manure chunks; rockwool or foam plugs are ideal.
If you are a FSMA‑covered farm selling raw, ready‑to‑eat produce, be extra cautious with plants started in unknown compost or manure‑amended mixes, since biological soil amendments of animal origin are a major focus in the FSMA rule as noted in this FDA overview.
Step 2: Quarantine & inspect (don’t skip this)
Set up a small quarantine zone off your main system:
- Hold new plants there for 3–5 days.
- Inspect daily for pests, disease, or off smells from the root zone.
- Do not share tools, reservoirs, or nutrient lines with your main system during this period.
This is standard practice in any serious hydro facility and should be written into your HACCP or GAP plan if you sell food.
Step 3: Prepare hydro‑safe wash water and gear
Use only potable water and clean containers:
- Two to three wash tubs or buckets for sequential rinses.
- Gloves and a clean work surface (food‑contact safe if you are a commercial grower).
- Optional: a food‑grade oxidizing sanitizer (hydrogen peroxide or peracetic acid product labeled for produce/water treatment). Follow label directions exactly.
Hydro system should already be cleaned and, where appropriate, sanitized. That means scrubbed, rinsed, and dried before refilling with nutrient solution.
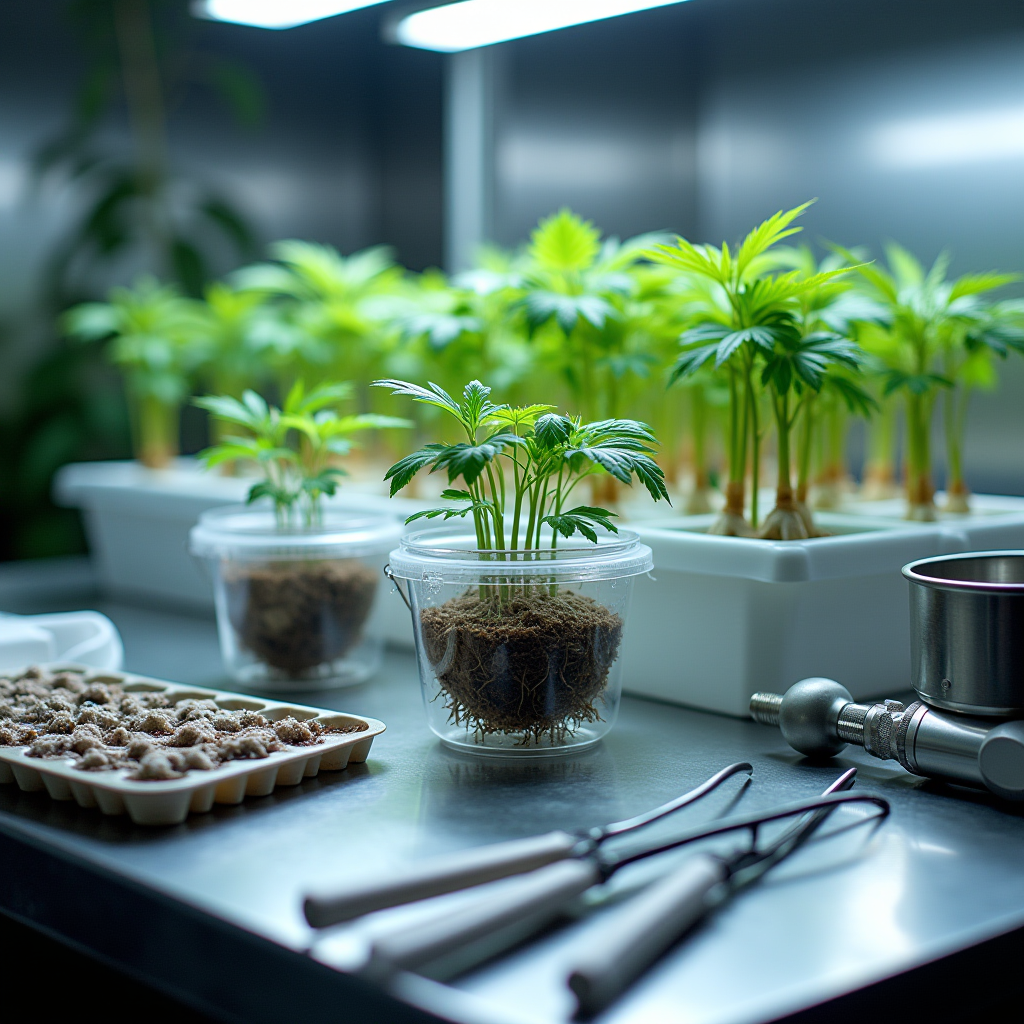
Step 4: Gentle, multi‑stage root washing
- Pre‑wet the pot: Water the seedlings 1–2 hours before washing so the media loosens.
- Remove the plug: Support the stem, squeeze the pot or cell walls, and slide the root ball out.
- Dry knock: Over a bin, gently crumble off loose media with your fingers.
- First soak: Place roots into the first tub of lukewarm water. Swirl slowly; do not blast with a tap.
- Media massage: Use your fingers to tease out soil clumps. When the water clouds up, move to the next tub.
- Second and third soaks: Repeat until water stays mostly clear and only a stain of fine particles remains.
- Targeted rinse: If needed, finish with a very gentle stream to remove the last clinging bits from the root crown and larger roots.
- Optional sanitizing dip (commercial): Briefly dip roots in a properly diluted, food‑safe sanitizer if your food‑safety plan calls for it, then rinse with clean water if required by the product label.
For NFT and aeroponics, aim for roots that look practically media‑free. For DWC and Kratky, a tiny amount of residual peat is acceptable as long as you avoid obvious chunks.
Step 5: Transplant into DWC, NFT, aeroponics or Kratky
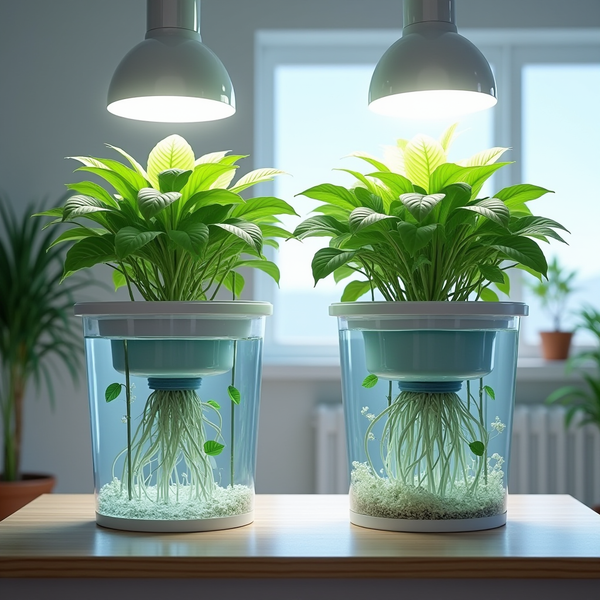
DWC (Deep Water Culture)
- Use net pots with clay pebbles, rockwool cubes, or other inert support.
- Set the solution level 5–10 mm below the pot base so only root tips and wicking media get wet.
- Aim for solution temp 18–22 °C and strong aeration (air stone per 20–40 L minimum).
Kratky
- Same net pot logic as DWC but no air stone.
- Fill the reservoir so the solution just touches the media bottom at transplant, then let it drop over time.
- Container must be light‑tight to reduce algae.
NFT (Nutrient Film Technique)
- Seat plants in net pots or foam collars so roots hang into the channel.
- Ensure there is a thin, continuous film of solution along the channel floor.
- Use pre‑filters and clean sumps to catch any remaining fines.
Aeroponics
- Use neoprene collars or net pots; avoid any remaining media dust near nozzles.
- Confirm all misters are delivering an even pattern before adding plants.
- Maintain tight cleaning and nozzle‑inspection schedules.
Step 6: Protect VPD, DO, and light during recovery
Freshly transplanted, bare‑root seedlings do not want “full send” conditions. Give them a 3–5 day ramp:
- Light: Start at 40–60% of normal intensity for your crop, then raise daily as you see new white root tips.
- VPD: Keep relative humidity a bit higher (within reasonable bounds) to reduce transpiration strain, as discussed in this VPD article.
- EC: Start at the low end of the range for that crop (for leafy greens ~0.8–1.0 mS/cm, herbs around 1.0–1.2 mS/cm) and only increase after you see active growth.
- DO: Especially in DWC, keep aeration high and solution temps in the 18–22 °C band.
Most healthy plants show new root growth in 2–4 days. If they are still stalling after a week, check roots, EC, and pH first.
What To Watch Long‑Term: pH/EC Drift, Root Health & FSMA Boundaries
The transplant is only half the story. Once those ex‑soil plants are in your hydro system, you need to keep an eye on three things: solution behavior, root health, and your food‑safety line in the sand.
1. pH and EC drift after soil‑to‑hydro moves
It is normal to see a bit of instability during the first week:
- pH drift up can happen if residual media is slightly alkaline or plants are taking up more nitrate than other ions.
- pH drift down is common if there is microbial activity or high ammonium fractions in the nutrient.
- EC drop means the plant is feeding aggressively; EC rise means it is mostly drinking water.
Keep pH in the 5.5–6.5 range, with 5.8–6.2 being the sweet spot for most hydroponic crops as summarized in general hydroponics references like this hydroponics overview. Make small corrections rather than big swings.
2. Root‑zone sanitation: when to dump, when to disinfect
Watch for the early warning signs:
- Roots turning brown, slimy, or losing fine hairs.
- Reservoir smells sour or swampy.
- Sudden wilt with adequate solution level.
If you see any of these, respond fast:
- Change the reservoir, scrub and rinse walls and air stones.
- Use a food‑safe system sanitizer between cycles, not kitchen bleach water on live roots.
- Improve filtration and mechanical cleaning on NFT/aeroponic loops.
3. FSMA and HACCP: know when "soil to hydro" is not worth it
Hydroponic systems do not exempt you from FSMA. The Produce Safety Rule applies based on what you grow and how much you sell, not whether you use soil. The FDA lays out coverage thresholds, exemptions, and expectations in this official FSMA summary.
Practical guidelines for commercial operators:
- Avoid unknown composted or manure‑amended nursery media for crops eaten raw. Start those in your own sterile or inert plugs instead.
- Document your root‑washing and sanitation procedures as part of your food‑safety plan.
- Test source water according to your FSMA‑aligned agricultural water program, especially if you reuse solution.
- When in doubt, treat external, soil‑grown starts as a one‑off stopgap, not standard operating procedure.
If inspectors or buyers ask, you want to show that you recognize soil‑to‑hydro transplants as a controlled risk, not a casual habit.
4. System choice: where soil‑started plants make the most sense
- Best fit: DWC and Kratky, because there are no emitters to clog and a bit of organic carryover is manageable with good aeration and cleaning.
- Conditional: NFT, if you wash roots very thoroughly and use filtration.
- High‑risk: aeroponics, especially high‑pressure systems; you really want inert, hydro‑raised plugs only.
If you are building a long‑term production plan, your real fix is simple: grow your own hydro‑ready starts in clean plugs and keep store‑bought, soil‑grown plants as a backup tool, not your main pipeline.

Bottom line
You absolutely can use store‑bought starter plants in hydroponics, including DWC, NFT, aeroponics, and Kratky. The key is to treat them like a controlled input, not a throwaway impulse buy:
- Quarantine and inspect before they get anywhere near your main system.
- Wash roots in staged, gentle baths until media is essentially gone, especially for NFT and aeroponics.
- Use food‑safe sanitizing practices and potable water if you sell produce or fall under FSMA.
- Manage VPD, DO, EC, and light intensity carefully while they recover.
- Know when to say “no” and start fresh in hydro‑ready plugs instead.
Handled this way, nursery seedlings become a tool you can use when supply is tight, without sacrificing plant health or food safety.
As an Amazon Associate, I earn from qualifying purchases.