“High-tech” is not what saves your salad during a blackout
Most people think a climate-proof home means bigger batteries, smarter fridges, and an app for everything. The reality is harsher: when storms cut roads, heatwaves cook crops, and the grid keeps flickering, the homes that keep feeding their families are the ones that can quietly grow calories indoors using very little power.
This guide walks you through a compact, off-grid indoor hydroponic kit built for exactly that job: keeping 2–4 people in steady microgreens and lettuce during blackouts, storms, and heat events. We will stay practical: specific crop choices, PPFD/DLI targets, DC pumps, battery math, water and nutrient storage, sanitation without tap or HVAC, and realistic yield per watt and per liter.
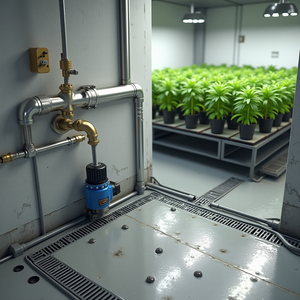
Climate-proofing is no longer theory. Recent coverage of homes upgraded into survival shelters highlights the shift from “nice gadgets” to integrated resilience systems that keep food, power, and air under control when the neighborhood is in chaos, as discussed in this climate-proof home feature. At the same time, microgreen operations like Local Leaf have shown how tightly controlled hydroponic greens can anchor local food supply even as outdoor weather becomes less reliable, as noted in this report on hydroponic microgreens. After storms devastated fields in South Africa, growers like Eldorado Fresh rebuilt with more protected and innovative production systems, including hydroponics, precisely to avoid being at the mercy of outdoor weather again, as covered in this post-disaster farming story.
Your off-grid indoor kit follows the same logic, but at household scale.
1. Common mistakes when designing an off-grid indoor hydroponic kit
1.1 Overbuilding the electronics and underbuilding the plants
The most common failure I see: people design a beautiful power system and almost ignore the biology. They start with an inverter, a big battery, and a charge controller, then bolt on whatever grow tent and lights they can afford.
Result: mismatched light levels, poor crop choice, and a system that pulls 800–1200 W just to grow a few sad heads of lettuce.
You should invert that thinking. Start with the crops, lighting targets, and container methods (Kratky and DWC) that give the most nutrition per watt and per liter. Then size your power around that.
1.2 Treating microgreens and head lettuce the same
Microgreens and full-size lettuce are not interchangeable from a design standpoint:
- Microgreens are shallow-rooted, rapid, and tolerate lower PPFD. They are perfect for a low-power, high-density emergency system.
- Lettuce needs more vertical space, more root volume, and more stable nutrient and pH conditions.
Using one generic system for both usually means suboptimal lighting, too-deep nutrient for microgreens, and wasted space.
1.3 Assuming “no power” means “no hydroponics”
Hydroponics is not automatically power-hungry. If you lean on the Kratky method and smart container design, you can run a surprising amount of production with zero pumps and only modest LED lighting.
Kratky containers with sealed, opaque reservoirs and good air gaps are one of the most underrated tools for climate resilience. They turn clean water and stable nutrients into 3–6 weeks of autonomous growth.
1.4 Ignoring water and nutrient storage lifetimes
People will buy an impressive-looking nutrient set and a couple of blue barrels, then never ask two critical questions:
- How long will this water stay useable without active filtration or frequent turnover?
- How many months of greens can this nutrient stock realistically cover?
If you cannot answer those, you cannot claim you have an “emergency hydroponic kit.” You just have gear.
1.5 Forgetting humidity, mold, and air movement
Pack a few trays of microgreens and a couple of lettuce reservoirs into a small room and you will push humidity up fast, especially during storms when you keep windows closed. Without HVAC or active dehumidification, that means mold on coco mats, damping-off in seedlings, and water condensing on walls.
Your design has to include passive or low-power ventilation, moisture capture, and spacing to keep plants and humans comfortable.
2. Why these mistakes happen: mixing “grow hobby” thinking with “survival” thinking
2.1 Hobby growers chase maximum yield, not yield per watt
Most indoor grow content assumes you are plugged into cheap, stable grid power. The default advice is 300–600 μmol/m²/s for leafy greens and huge light footprints. That is fine for hobby or commercial yields, but terrible for off-grid resilience.
In an emergency, yield per watt matters more than maximum grams per harvest. You care about the most reliable, low-energy stream of vitamins and minerals, not bragging rights.
2.2 Emergency planners often ignore the plant science
If you come from the prepper or solar world, it is natural to start with numbers like 5 kWh/day or 10 kWh/day and then reverse-fit a garden into that envelope. That misses the point that microgreens and lettuce are incredibly efficient if you hit basic light, water, and nutrient benchmarks.
Once you know your PPFD and DLI targets, you can back-calculate a lighting and battery plan instead of guessing.
2.3 Confusion about DLI, PPFD, and photoperiod
Daily Light Integral (DLI) is just how many photons hit the plant in a day. You can reach the same DLI with high PPFD for a short time or lower PPFD for longer. For off-grid systems, that means you can:
- Use efficient but modest PPFD (100–200 μmol/m²/s) for microgreens.
- Run lights a bit longer instead of blasting high intensity.
This flexibility is how you keep power draw manageable while still hitting reasonable growth rates.
2.4 Underestimating how fast pH and EC drift in static systems
Kratky is robust, but it is not magic. As plants drink water and nutrients, your solution strength and pH shift. In an emergency, you might be tempted to “set and forget” a 4 week reservoir and come back to a nutrient soup or a starvation tank.
That is why simple tools like a pH drop kit and a cheap EC meter are worth their weight in shelf-stable beans.
2.5 Misreading space and people requirements
Growing for 2–4 people indoors does not require a spare garage. It does require structured thinking:
- How many microgreen trays and lettuce heads per week are realistic.
- How much vertical shelf space that means.
- Where that fits without blocking critical home functions.
Most families can dedicate a single 2–3 tier rack in a hallway, spare room, or utility corner and cover a meaningful chunk of their fresh greens, if the system is tuned.
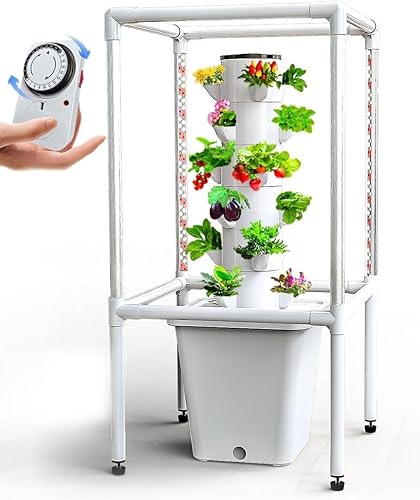
3. How to fix it: build a concrete off-grid greens kit for 2–4 people
3.1 Step 1: Define your targets in trays and heads, not theory
Start with a simple target that you can actually run:
- Microgreens: 4 trays per week (standard 10"×20").
- Lettuce: 8–12 heads in staggered stages at any time.
At typical densities:
- One microgreen tray can provide garnish-level greens for 2–4 people or serious salad portions for 1–2, depending on sowing density and crop type.
- Eight mature heads of lettuce every 2 weeks is a comfortable baseline for a family of 2–4 if you are also eating microgreens.
That is your design payload.
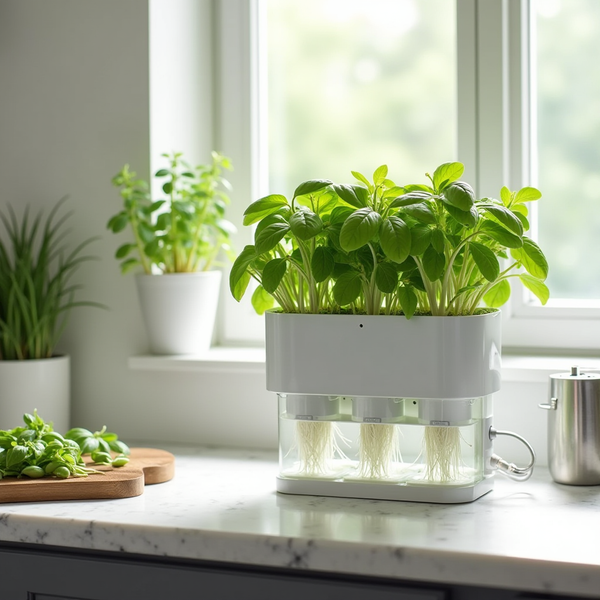
3.2 Step 2: Choose growing methods per crop
Microgreens: passive trays
- Shallow 10"×20" trays, one with holes nested in a solid tray.
- Media: coco coir, hemp mats, or similar.
- Watering: manual. Sub-irrigate by adding nutrient solution to the bottom tray.
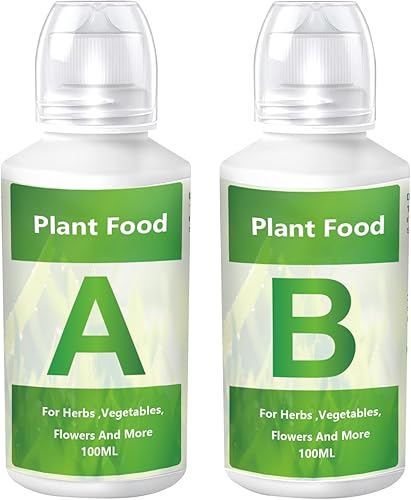
- Nutrients: weak hydroponic solution (EC 0.5–1.0 mS/cm), pH around 6.
No pumps required. You can run these purely on LED or window light if absolutely necessary, though LEDs give more predictable results.
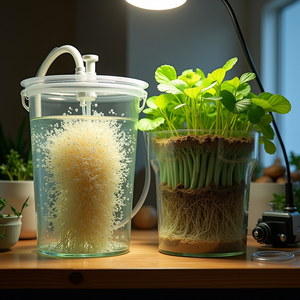
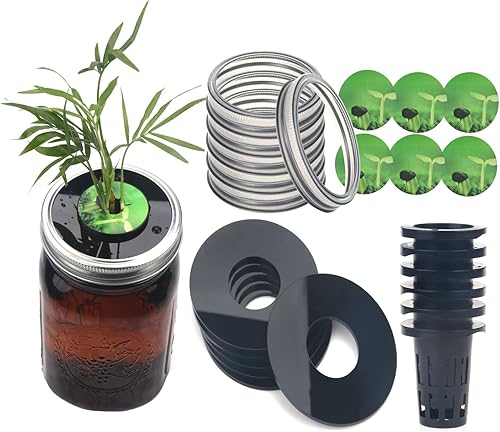
Lettuce: Kratky tubs with DWC optional
- Use 15–25 L opaque totes or buckets with 4–6 net pots in the lid.
- Lettuce nutrient solution: EC 1.2–1.6 mS/cm, pH 5.8–6.2.
- Leave 2–3 cm air gap under the net pots when filled.
- Plant spacing: 15–20 cm between heads.
This gives you a “no-pump” baseline. When you have power, you can convert some containers to DWC by adding an airstone and running a low-watt DC air pump. That will improve growth and resilience to warmer water, but your system is not dependent on it.
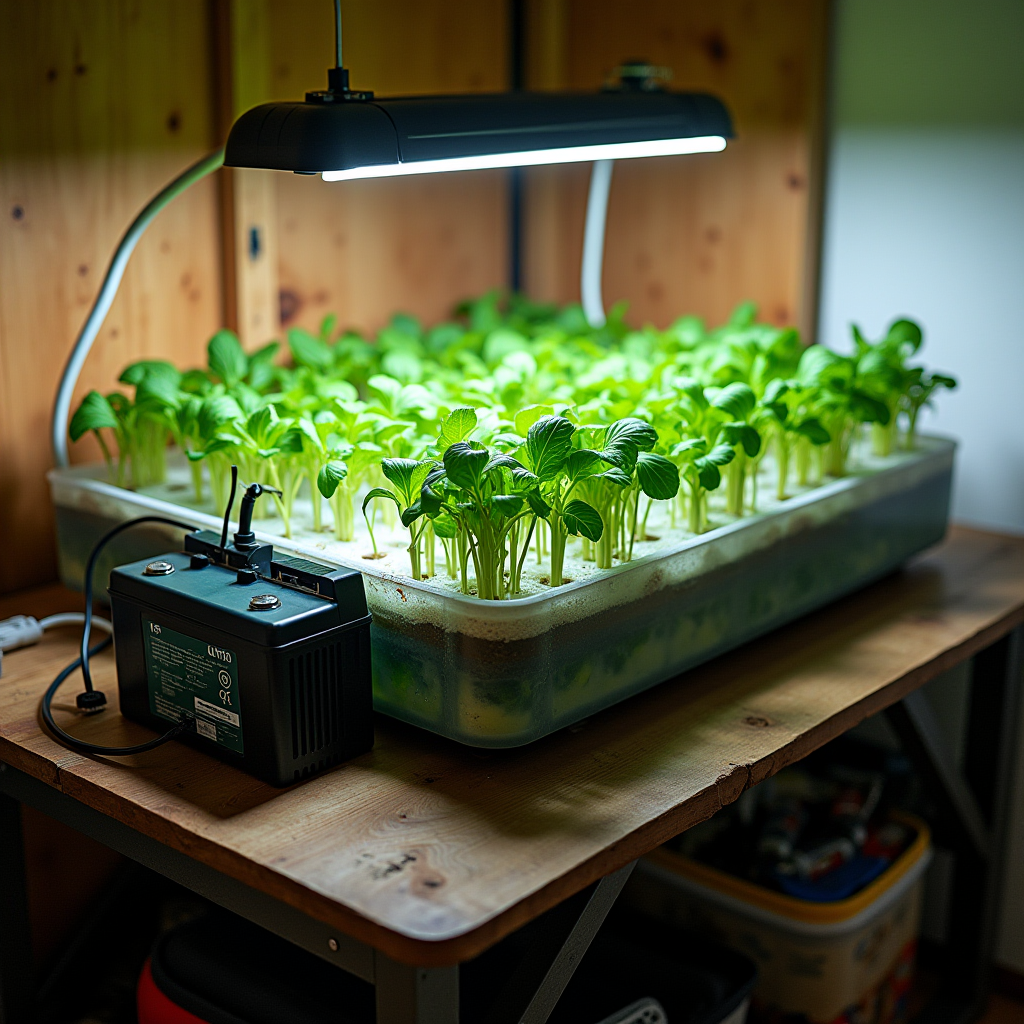
3.3 Step 3: Lighting for low-power, high-return greens
For off-grid, skip big, overdriven grow lights and favor efficient LED bars or strips, ideally 4000–5000 K white, driven from 12 or 24 V DC.
Light targets
- Microgreens: 100–200 μmol/m²/s, 14–16 hours/day.
- Lettuce: 150–250 μmol/m²/s, 14–18 hours/day.
For a 0.5 m² shelf, efficient LEDs typically need about 20–35 W to hit those numbers. Two such shelves (one microgreens, one lettuce) might draw roughly 40–70 W combined at full power. You can dim or shorten the photoperiod to match your battery situation.
Estimating daily lighting energy
Example conservative design:
- Total LED draw: 50 W.
- Operating time: 16 h/day in normal mode.
Daily energy: 50 W × 16 h = 800 Wh. In emergency mode, you might drop to 40 W for 12 h (480 Wh) or even less, accepting slower growth.
3.4 Step 4: DC pumps and battery sizing for resilience
Core electrical loads
- LEDs: 40–70 W for your two shelves.
- Air pump for DWC (optional but useful): 3–5 W.
Design around a “lights dominate” reality. Your air pump is almost a rounding error compared to LEDs.
Battery math, simplified
Say you want:
- LEDs: 50 W for 12 hours/day.
- Air pump: 5 W for 24 hours/day.
Daily use:
- LEDs: 50 × 12 = 600 Wh.
- Air pump: 5 × 24 = 120 Wh.
Total ≈ 720 Wh/day.
For two days of autonomy: 1440 Wh. On a 12 V system, that is 1440 ÷ 12 ≈ 120 Ah of usable capacity. Adjust for chemistry:
- Lead-acid: plan to use only ~50% of rated capacity. So you need about 240 Ah of batteries.
- LiFePO4: you can use ~80%. So about 150 Ah of LiFePO4 covers you.
Because you can always turn off the air pump and run the lettuce Kratky-style, your true “must have” load is just the LEDs. That significantly stretches your autonomy and lets you scale down battery if budget is tight.
3.5 Step 5: Water and nutrient storage as part of the design
Water planning
For a 1 m² mixed microgreen/lettuce area, expect roughly 2–4 L/week of net water loss from transpiration and evaporation. You also need water for initial fills and occasional dumping of old solution.
For a month of steady production for 2–4 people, a practical target is 100–150 L of clean, stored water dedicated to hydroponics, separate from your drinking water reserve.
Store this in opaque, food-grade containers in a cool, dark spot. If you are using chlorinated tap water, either let it stand, use a carbon filter, or choose nutrient lines that tolerate chloramine.
Nutrient storage and shelf life
Hydroponic mineral nutrients are a strength in emergency setups because they store predictably. Dry salts and sealed concentrates, kept cool and away from light, can last for years with minimal degradation. Many producers of microgreens and indoor greens rely on this stability to run consistent batches year-round regardless of outdoor conditions, as seen in commercial microgreen operations.
As a rule of thumb:
- 1–2 kg of a balanced leafy-greens nutrient (or equivalent A/B concentrate) will easily supply a small 1–2 m² emergency system for many months.
- Label containers with mixing ratios and pH targets so anyone in the household can mix solutions under stress.

4. What to watch long-term: sanitation, humidity, and realistic output
4.1 Sanitation without assuming tap water and HVAC
In a stressed grid, you cannot assume endless hot water, disinfectants, or mechanical ventilation. Your sanitation SOPs should be low-input and repeatable:
- Between cycles, rinse trays and Kratky containers with stored water.
- Disinfect with a mild bleach solution (for example 1:100 household bleach to water), contact time a few minutes, then rinse well.
- Dry equipment completely before stacking to reduce mold.
- Keep reservoirs covered at all times to block light and dust.
Commercial farms that rebuilt after storm damage did not just add more tech; they tightened their hygiene and process controls, as documented in case studies of post-storm hydroponic innovation. You want the same mindset, just scaled to a rack instead of a hectare.
4.2 Humidity control and ventilation with minimal power
Plants transpire moisture. A small hydroponic rack in a closed room can easily push humidity above 70%, inviting mold and making the room uncomfortable.
Low-tech options:
- Passive ventilation: crack doors and windows when outdoor conditions allow.
- DC fans: small 12 V computer-style fans move enough air for the plants and only draw a couple of watts.
- Dehumidification by condensation: in cool climates, ventilate to a colder area (like a stairwell) to drop moisture.
- Crop density management: do not run every tray you own at once in a tiny room; stagger sowing.
4.3 Nutrient and pH monitoring routines that survive a crisis
Set a routine that would still work if you were sleep-deprived and short on supplies:
- Weekly: check pH and EC on all active reservoirs.
- Top-ups: use plain or mildly nutrient-enriched water to keep EC in range.
- Drains: fully dump and remix solutions every 3–4 weeks for lettuce Kratky tubs, or at the end of each microgreen cycle.
Write down your standard recipes and adjustments in a physical notebook near the rack. In a crisis, you will not want to depend on cloud notes to remember that 10 L of lettuce solution needs 20 ml of Part A and 20 ml of Part B.
4.4 Realistic yield per watt and per liter
Let’s anchor expectations for a compact 2-shelf rack running in resilience mode:
- Lighting: 40–60 W average, 12–16 h/day → 480–960 Wh/day.
- Water: roughly 10–20 L/week consumption across all trays and tubs once the system is in steady-state.
With 4 microgreen trays cycling weekly and 8–12 lettuce plants maturing on rotation, it is reasonable to expect:
- Several hundred grams of microgreens per week, depending on crop density.
- 4–8 mature heads of lettuce every 1–2 weeks.
Translate that into your family’s meal habits. The point is not 100% calorie independence (you will not grow grains on a shelf), but a resilient stream of nutrient-dense greens that does not care if the supermarket trucks are delayed or the power company is having a bad week.
Final build checklist: turning urgency into a working rack
If you want to climate-proof your home with a real, functioning off-grid hydroponic greens kit, not a Pinterest project, start with this checklist and adapt to your space:
- Rack: 2–3 tier metal shelf, 80–100 cm wide.
- Microgreens: 4–8 trays, media, and manual watering.
- Lettuce: 2–4 Kratky totes (15–25 L) with 4–6 net pots each.
- Lighting: 2 shelves of efficient DC-capable LED bars or strips (4000–5000 K), sized to 40–70 W total.
- Pumps: 1–2 small DC air pumps plus airstones for optional DWC mode.
- Power: 12 V battery bank sized for at least 1–2 days of lights-only operation, with provision for solar or intermittent grid charging.
- Water storage: 100–150 L of clean, food-grade water reserved for hydroponics.
- Nutrients: 1–2 kg or a few liters of stable hydroponic nutrients, plus pH up/down.
- Monitoring: manual pH kit or meter, simple EC meter, notebook for recipes.
- Air: at least one low-watt DC fan and a plan for passive ventilation.
Test the system before you need it. Run at least two full cycles of microgreens and one full lettuce cycle on backup power settings. That is how you find the real bottlenecks, tune your watt-hours per harvest, and turn a shelf of gear into a quiet, dependable part of your climate-proof home.
As an Amazon Associate, I earn from qualifying purchases.