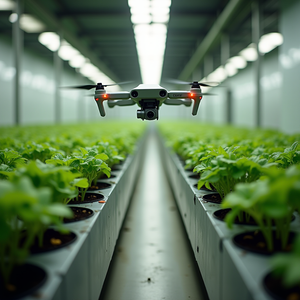
Common Mistakes: Trying To Run Algae Inside The Main Hydro System
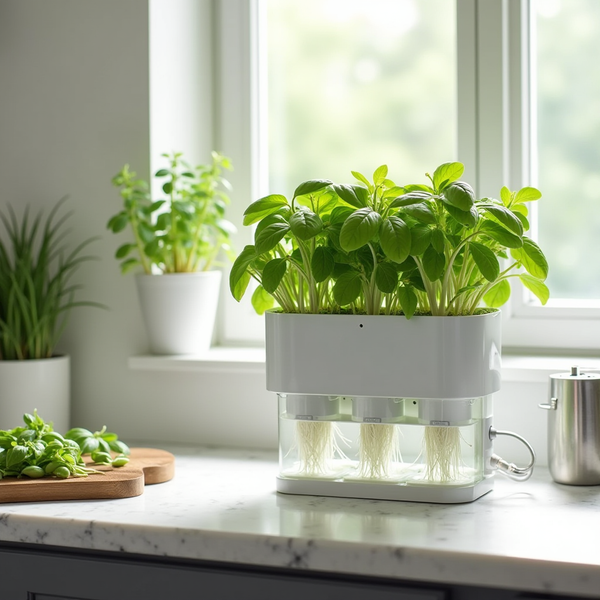
“Algae in hydroponics” usually means trouble: slimy roots, clogged emitters, pH drift, and mystery deficiencies. The myth is that if algae are good at eating nitrate and CO2, you should just let them grow in the reservoir. In reality, that is one of the fastest ways to destabilize a well-tuned DWC, NFT, or Kratky setup.
The smart play is different: keep your main system clinically clean, and build a decoupled microalgae side‑loop that quietly polishes purge water and buffers CO2/O2 without ever letting living algae back into the crop lines.
This guide walks you through a practical, home‑scale microalgae reactor designed to:
- Strip nitrate and phosphate from diluted purge water down toward ~10–30 mg/L NO3 and ~0.5–2 mg/L PO4.
- Act as a CO2/O2 buffer without driving wild pH swings in your main reservoir.
- Return clarified, algae‑free water so you don’t get biofilm or clogs.
- Stay fully isolated with filtration, UV/heat kill steps, and backflow protection.
We are not co‑culturing algae and roots in the same tank. We are building a separate bioreactor informed by recent microalgae–hydroponic research on nutrient removal and resource recovery from effluent, like the systems described in microalgae-based wastewater treatment for hydroponics and hydroponic wastewater polishing with microalgae.

Why These Mistakes Happen: Mixing Two Very Different Jobs
Hydroponic systems and microalgae reactors are trying to do almost opposite things:
- Hydroponics wants stable EC, pH, and dissolved oxygen around plant roots, minimal biofilm, and predictable nutrient ratios.
- Microalgae thrive on variable nutrient levels, intense light, and a high surface‑area water column for gas exchange.
When growers let algae into the main reservoir, a few things happen:
- Nutrient competition: Algae grab nitrate, phosphate, iron, and trace elements. Plants see that as emerging deficiencies, even if EC looks fine.
- pH oscillation: During the light period, algae strip dissolved CO2, push pH up, and alter carbonate/bicarbonate balance. At night, respiration reverses the effect. Your pH chart starts to look like a rollercoaster.
- Biofilm and clogs: Algae coat everything. NFT channels, drippers, and DWC roots all get slimy. Oxygen drops in dense mats.
- Disease carryover: Dirty, organic‑heavy lines are friendlier to opportunistic pathogens.
At the same time, microalgae are fantastic at stripping nutrients and recovering value from hydroponic wastewater. Recent work on microalgae in hydroponic effluents shows high removal efficiencies for nitrate and phosphate and strong potential for circular nutrient use, turning waste into biomass that can be reused or processed further, as reported in resource recovery studies from hydroponic wastewaters.
The trick is to segregate functions:
- Main system: clean, sterile‑leaning, predictable.
- Side‑loop: biologically active, optimized for algae, fully isolated with kill‑steps before water returns.
If you design the loop correctly, you can:
- Route purge water through algae instead of down the drain.
- Tune the loop to pull NO3 and PO4 into a more forgiving range.
- Use algal photosynthesis to buffer CO2 and O2, but only indirectly for your main system.

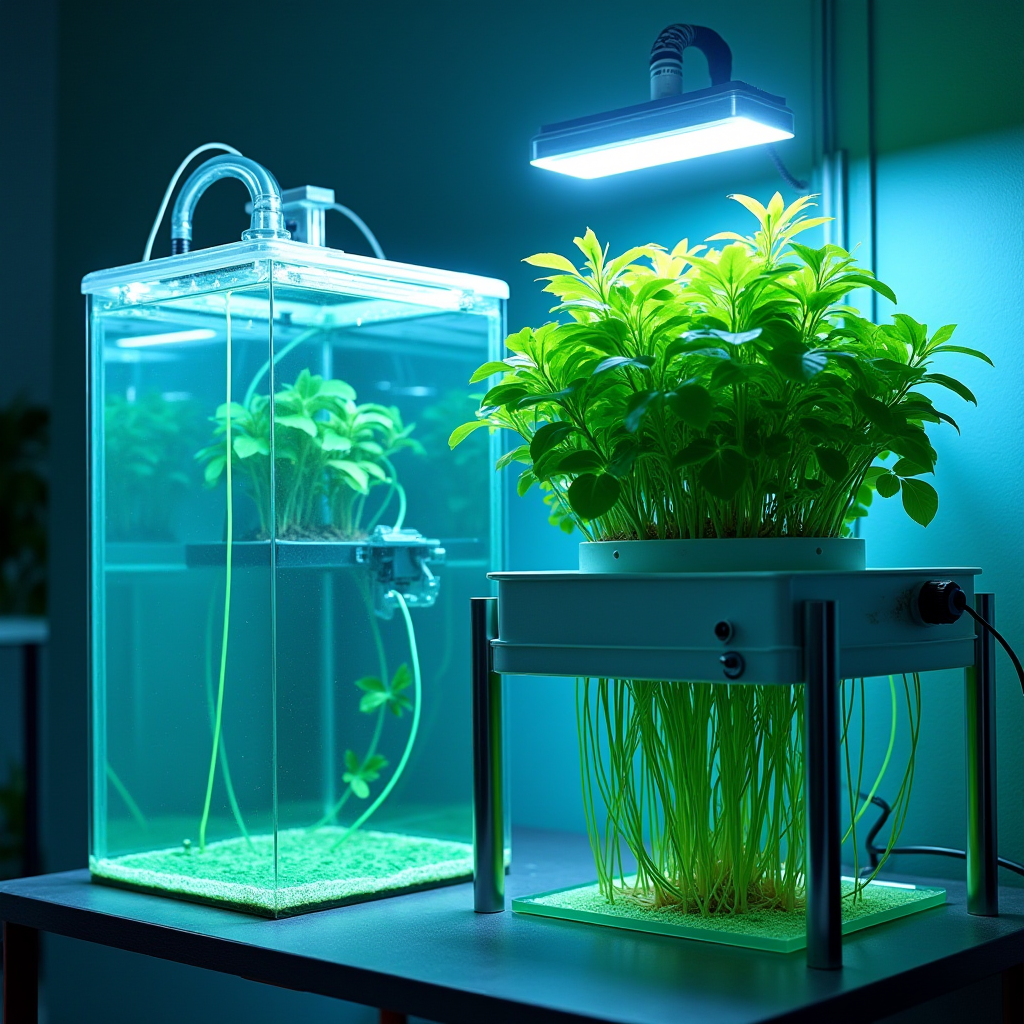
How To Fix It: Build A Decoupled Microalgae Side‑Loop
1. Decide What Job The Loop Will Do
The design here focuses on three jobs:
- Nutrient polishing for purge water: Take water that is “too hot” or out of ratio and strip nitrate and phosphate down into a more neutral, re‑usable band.
- CO2/O2 buffering in a side volume: Let algae turn dissolved CO2 into O2 and biomass in their own reactor, not in the root zone.
- Resource recovery: Optionally harvest the biomass for composting, biostimulant production, or other uses, which aligns with the circular strategies discussed in home algae cultivation guides.
We are not targeting full nutrient recycling here. Think of this as a polishing and conditioning loop that turns “waste” into “usable” or at least “safer to dispose of.”
2. Choose The Right Algae: Freshwater Microalgae, Not Chaeto
For typical indoor hydroponics (Kratky, DWC, NFT, drip), you are running freshwater salts. That rules out marine macroalgae like chaetomorpha (chaeto) for direct integration. Chaeto thrives in high‑salinity systems and needs nitrate and phosphate in ranges tailored for marine tanks, as noted in chaeto nutrient requirement overviews.
Instead, use freshwater microalgae that are already well‑studied for nutrient removal and effluent polishing:
- Chlorella vulgaris (workhorse, forgiving, high nutrient uptake).
- Scenedesmus obliquus (good nitrate and phosphate removal, tends to form small colonies that settle well).
- Mixed freshwater consortia sourced from a clean pond or dedicated culture if you are comfortable with less control.
For a home grower, you have two realistic options:
- Buy a small lab culture of Chlorella or Scenedesmus and scale it up under clean conditions.
- Start from a “green water” outdoor tub and accept more species diversity, then keep this loop strictly off‑line from any food crops if you are risk‑averse.
Stay away from filamentous species in the reactor. They tangle, foul pumps, and reduce control.
3. Reactor Geometry: Tall, Mixed, And Easy To Clean
You want a vessel that:
- Holds 10–80 L for typical home systems (scales up linearly).
- Has a high surface area for light and gas exchange.
- Is smooth‑walled and easy to scrub.
Practical options:
- Vertical translucent HDPE or polycarbonate column (e.g., 20–60 L water storage barrel with light‑exposed sides).
- Rectangular clear tote with side lighting for shallow setups.
Key design points:
- Height vs footprint: A taller column (height >= 2× diameter) gives good mixing and less floor space.
- Bottom drain: Essential for harvesting and sludge removal.
- Access port: A removable lid or large inspection hatch for cleaning.
- Internal circulation: A small recirculation pump or airlift to keep algae suspended and prevent dead zones.
Target a hydraulic retention time (HRT) in the reactor of 24–72 hours for strong nutrient removal, similar to what is reported in pilot‑scale hydroponic effluent/microalgae systems in resource recovery studies.
4. Lighting: Spectrum, Intensity, And Schedule
Microalgae are not picky about “horticulture” spectra. They respond well to strong blue + red light with some white for efficiency and control.
Guidelines:
- Spectrum: 400–700 nm LED panel or strip lights are fine. Basic 5000–6500 K white plus some 660 nm red is ideal for cost and efficiency.
- Intensity: Aim for 100–300 µmol/m²/s at the vessel surface. For a clear column, this will drop through the depth as the algae thicken; that is normal. If you do not have a PAR meter, think of it as “medium to bright veg lighting,” similar to what you would push over leafy greens indoors.
- Photoperiod: 16–20 hours on, 4–8 hours off. Longer days drive faster growth, but reactors need some dark time for balanced metabolism.
Mount lights on one or more sides of the reactor with at least 5–10 cm air gap to avoid overheating the culture.
5. Flow Scheme: Keeping It Truly Decoupled
Here is a simple, robust layout:
- Purge reservoir: Collect reject water from your main hydro system (usually from scheduled partial drains or overflow). Dilute with fresh water if NO3 is extremely high.
- Feed pump to algae reactor: Small pump or gravity feed from the purge tank into the bottom or middle of the algae reactor.
- Algae reactor: Lighted, mixed, with air or recirculation pump for suspension.
- Clarification and kill train:
- Coarse screen (200–300 µm) leaving the reactor.
- Settling or bag filter (5–50 µm) to pull out bulk algae.
- Kill step: inline UV sterilizer or heat loop.
- Cleaned water storage: Holds clarified, algae‑free water.
- Use point: Optionally metered back into your top‑up water or used for non‑critical irrigation.
The key is the kill step plus filtration between the algae and any connection to your main system. Nothing alive goes back.
6. Kill Steps: UV, Heat, Or Both
This is the non‑negotiable part if you care about keeping your main hydro system biofilm‑free.
You want to inactivate all algae and most microbes before polished water touches anything in your crop circuit. Common options:
- UV sterilizer
- Inline pond/aquarium UV units work well at home scale.
- Ensure adequate contact time at the rated flow for algae and bacteria (check manufacturer charts).
- Install after filtration so water is clear enough for UV to penetrate.
- Heat loop
- Small stainless heating coil or immersion heater in a separate kill tank.
- Bring water to 60–70 °C for sufficient time to denature cells, then let cool before storage.
- More energy‑intensive but very effective.
For most indoor growers, a bag filter (5–10 µm) plus UV is the sweet spot of simplicity and safety.
7. Backflow Protection: No Surprises
You also need to make sure nothing from the side‑loop can siphon or pump backwards into your main reservoir.
Use:
- Air gaps wherever lines discharge into a tank (pipe ends above the water surface).
- Check valves on any line that could potentially reverse with pump failure or siphon.
- Separate pumps and power for the main system vs algae loop so there is no shared plumbing that can exchange water passively.
Treat the side‑loop like a small wastewater plant. Incoming water is a one‑way street.

What To Watch Long‑Term: Targets, Tuning, And CO2 Buffering
1. Nutrient Targets For Polished Water
For most indoor growers, polished water does not need to be “zero nutrient.” In fact, that can be wasteful.
Reasonable targets when the side‑loop is dialed in:
- Nitrate (NO3‑N): 10–30 mg/L.
- Phosphate (PO4‑P): 0.5–2 mg/L.
That gives you water that is:
- Much safer to discharge if you cannot reuse it.
- Often usable as blending water for lower‑EC mixes or seedlings if you run it through carbon and verify no off odors.
Measure with basic aquarium or horticulture test kits. Track before reactor, after reactor, and after kill/filtration to see how your loop is performing.
2. CO2/O2 Buffering Without pH Chaos
Because the algae are in a separate loop, you can let them swing pH internally without hurting your crops.
Practically, CO2 buffering works like this:
- Purge water leaves your main system with a certain dissolved CO2 load and nutrient profile.
- Algae use that CO2 to build biomass, releasing O2.
- This can reduce the acid load of the side‑loop water, often raising its pH.
Since this water is returning through a kill step and usually being mixed with other top‑up sources, the impact on the main system’s pH is gentle and controllable. You still manage pH in the main reservoir directly with acid/base, just like in standard hydroponics.
The big win is that more of your CO2 and nutrients end up as biomass instead of off‑gassing or going straight to waste, which aligns with the sustainability benefits highlighted in current sustainability research coverage.
3. System Integration For Kratky, DWC, NFT, And Indoor Racks
This side‑loop is compatible with almost any indoor hydroponic layout:
- Kratky: Periodically drain a portion of your old solution into the purge reservoir instead of dumping it. Replace the drained volume with fresh nutrient mix. Send the old solution through the algae loop.
- DWC: Schedule partial reservoir changes (e.g., 20–30% weekly). Route the removed volume into the purge tank instead of straight to waste.
- NFT / drip / towers: Capture runoff and periodic system drains in the purge tank, then feed the algae reactor from there.
The side‑loop does not change your root‑zone hydraulics. It just gives your waste stream somewhere useful to go.
4. Monitoring & Maintenance
Once built, the algae loop is not “set and forget,” but it is manageable.
Watch:
- Optical density / color: Healthy cultures are rich green. If it goes pale or brown, something is off (light, nutrients, contamination).
- pH and temperature in the reactor: Most freshwater microalgae like pH 6.5–8.5 and 20–30 °C. They tolerate swings but avoid extremes.
- Nutrient removal efficiency: Track NO3 and PO4 in and out weekly at the start, then monthly once stable.
Maintenance tasks:
- Scrub reactor walls every 2–4 weeks to prevent thick films that block light.
- Harvest settled algae from the bottom drain and either compost or process according to your safety comfort level.
- Replace or clean bag filters as needed.
- Check UV bulb life and flow rates to maintain effective dosing.
As noted in work summarized at The Fish Site, aquaculture and recirculating systems that use algae for polishing depend heavily on regular monitoring and simple mechanical maintenance rather than complicated chemistry.
5. Safety And Food Crop Considerations
A few practical rules if you are growing food:
- Always run a kill step before polished water comes anywhere near edible crops.
- If you inoculate with non‑food‑grade algae sources (e.g., wild pond), treat the loop as a wastewater process. Use polished water only for non‑food plants or discharge after treatment.
- Do not rely on algae biomass itself as a direct fertilizer or foliar spray for food crops unless you have clear data on contamination risk and processing.
The goal here is cleaner effluent and better resource use, not introducing unknown biology into your salad trough.

Bringing It All Together
Microalgae are not the enemy of hydroponics. They are just doing the wrong job when they bloom in your reservoir.
By pushing them into a dedicated, decoupled side‑loop, you can:
- Polish nitrate and phosphate in your purge water toward controlled targets.
- Let algae handle some CO2/O2 balancing without wrecking your root‑zone pH.
- Reduce the nutrient load leaving your grow room.
- Keep your DWC buckets, NFT channels, Kratky tubs, and towers clean and predictable.
Start simple: one translucent reactor, a basic light, a bag filter, and a UV unit. Tune flow so your HRT is a day or two, watch your NO3/PO4 numbers, and adjust from there. Once you see how much “waste” those green cells can pull out of your purge water, you will stop thinking of algae as a problem and start treating them as another tool in your hydro toolkit.
As an Amazon Associate, I earn from qualifying purchases.